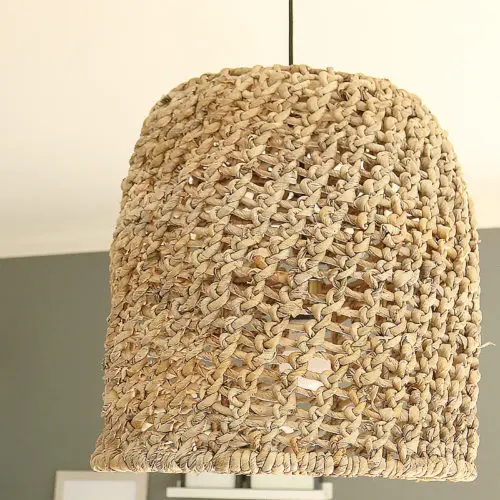
Easy DIY Basket Light Pendant for only $30 and 30 minutes of your time! We have been adding and changing out light fixtures in our new home. It’s been a slow process as I am trying to change them out as I go about decorating each room. The boys room is just about finished, and…
home decor tutorial
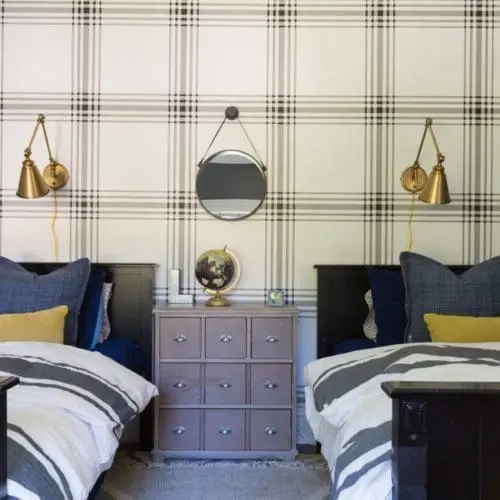
Beginner Guide: How to Hang Wallpaper
A Beginner’s Guide to Hanging Wallpaper with Easy Step-by-Step Tutorial After years of hiring professional wallpaper installers and watching them hang wallpaper, I decided to give it a try. Do you remember the wallpaper I hung in my renovated powder bathroom? I did a lot of observed during the installation. How come no one told…
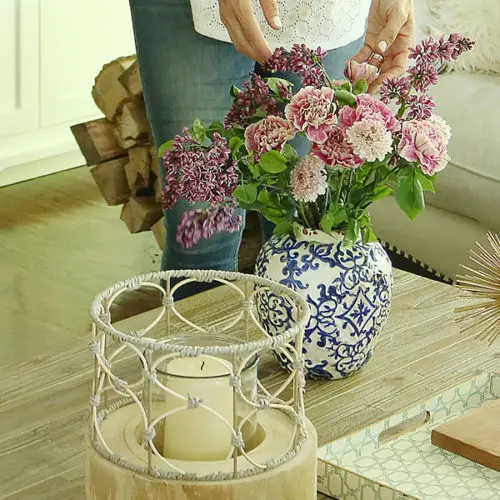
5 Easy Spring Updates to Your Home
5 Easy Spring Updates to Your Home that won’t Break the Budget I don’t know about you but when the warm weather rolls in and the grass gets greener and the spring flowers show up, I start to get the spring cleaning itch. Usually the spring cleaning itch involves not only cleaning and organizing, but…
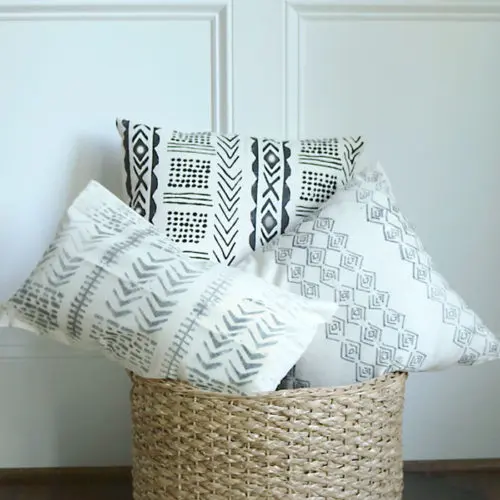
DIY Mud Cloth Pillow Using Freezer Paper
DIY Mud Cloth Pillow Tutorial Using Freezer Paper I’ve been wanting to do a DIY mud cloth pillow tutorial for awhile and have seen some really great basic tutorials online. But I wanted to do a DIY with freezer paper creating the look of a mud cloth pillow that had more complicated patterns. I played around…
