My post for How Does She is up! I talk about gold techniques that I like to use in crafting and home decors. Also my favorite brands to get the true “gold” look. Check it out!
UPDATE: This post is now live on my own blog! Feel free to check it out below:
A hot design trend this year is gold-dipped furniture and decor. I have had a tiny little obsession with anything gold. Good news! You don’t have to spend a fortune to get the “gold look”. A little paint or a little sharpie will help you get the right dose of gold. I am going to share with you my three favorite crafting techniques that use gold and will take any object from bam to glam!

Favorite Spray Paint: Rust-oleum Gold Metallic spray paint. This is the best brand that will give you a true gold metallic look. I’ve tried three other spray paint brands and they usually look copper once dried. I always go back to the Rust-oleum. So what are you going to spray paint gold? There are so many options! Gold-dipped bar stools, gold framed mirrors, lamp bases, glassware, metal furniture. I recently spray painted white vases. Remember to just keep the gold as an accent. A little amount is better than too much. So for my white vase I wrapped rubber bands on top and covered the base. Added my gold spray paint and…wow! What a difference!

Favorite Gold Metallic Sharpie–The sharpie craze continues! And of course gold metallic sharpie has been added to the mix. Thank goodness! If you’ve done any sharpie projects, you know you have to bake the piece in the oven so the design doesn’t fade or wash away over time. Well, now there is Sharpie oil-based paint marker, which is the key to making your design look more professional and long lasting. I don’t usually bake my oil-based sharpie pieces unless I know it will get a lot of use in the dishwasher (i.e. mugs, dishes, etc). So that alone will save you time. I recently did a jewelry dish project using the gold oil-based sharpie paint marker on my site Darling Darleen and it was so easy and took 5 minutes to make. A perfect, easy gift to give.

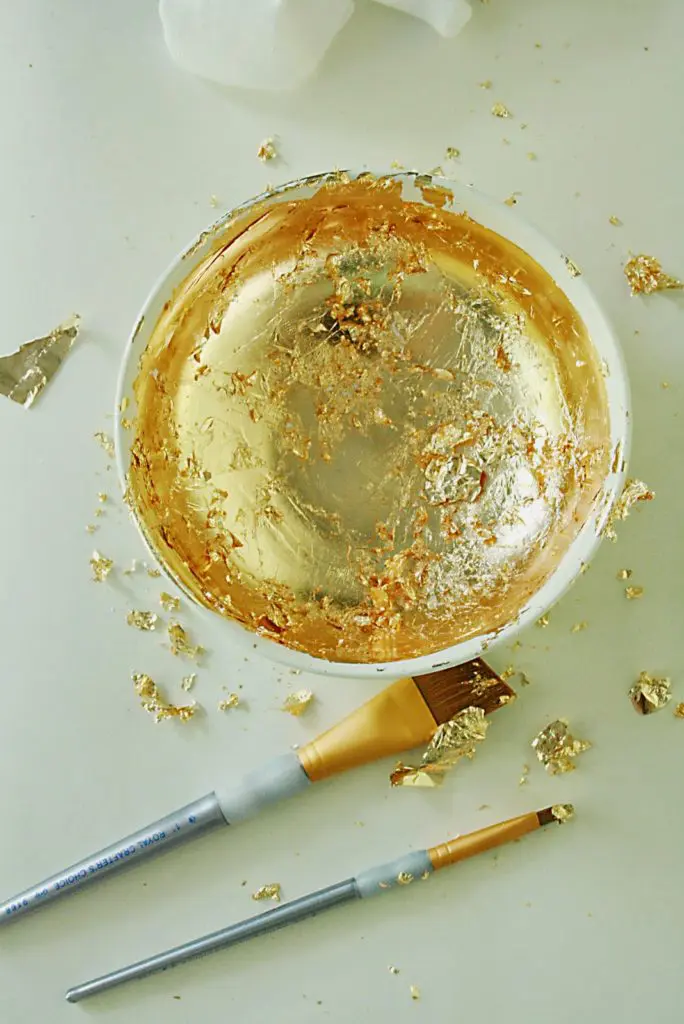
Favorite Gold Leafing–this technique is one that I have been doing in jewelry design for a long time, using real gold leaf. However, there is imitation gold leaf that you can buy at any craft store and won’t cost an outrageous amount of money. Gold leafing adds a little shimmer and shine to anything you apply it too. You would first apply gilding adhesive to the area. Wait for the adhesive to dry, but still remains sticky (about 10 minutes). Using a soft brush or cotton gloves, lift a layer of gold leaf and gently place on the sticky surface. Overlap pieces, if necessary, to cover the entire surface. Avoid direct contact as body oils will cause it to adhere. Once the surface is covered, use a soft brush to remove any loose particles. Then rub lightly with a smooth cheese cloth to create soft looking sheen. Allow the gilded area to thoroughly dry before applying a protective coat of clear varnish.

The gold leaf pen is very similar to the Sharpie oil-based paint marker, but you will have more of a shimmery gold look. You can do a lot of fun designs with the pen. I would suggest spraying a clear adhesive over your gold leaf pen design.
In the gold leaf project below, I gilded the inside of a white ceramic bowl, which I use for decorative purposes. I suggest for any of these techniques that you avoid applying on the surface where food will go. And remember that gold leaf is metal, so you can’t microwave it.


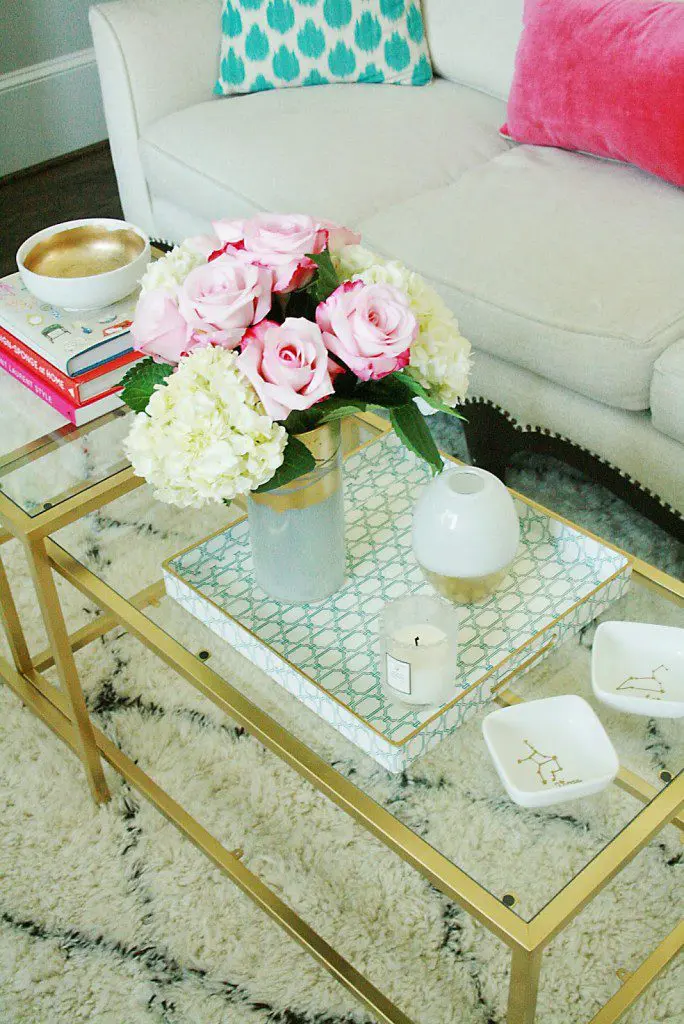
So here is a simple set up in my office, displaying of some of the items I glam’d up with these gold techniques. I spray painted a metal Ikea furniture piece and two white vases. Using sharpie oil-based paint markers, drew horoscope constellations on ceramic dishes. And then gilded gold leaf on a white ceramic bowl to hold a candle and add more visual interest for my coffee table.


[…] Bass Tray: Scotts Antique Market Coffee Table Books: Gilt Sofa: Vintage Accent Pieces: crafted here and here and here Boxes: Scotts Antique Market and Home […]