DIY Painted White and Gold Furniture: Amy Howard at Home One Step Paint
We have had this Chinese cabinet since we first got married. It’s one of those furniture pieces that I’ve wanted to replace, but my husband is too attached to it. Why does that happen to men? We even visited an online store similar to waysidefurniturehouse.com to find a replacement but he is just so attached to it, he could not bring himself to part with it. As you can guess, I simply had to give in. We placed it in this corner of the kitchen because it’s quite functional–hiding our mail, random papers, keys and even a laptop. But it has been this dark, neglected piece that doesn’t really go with the rest of the kitchen decor and really looked misplaced. With the diy aspect, all we had to do was paint it. But if you consider yourself a pro and would like to attempt to make your own furniture, it may be worth it to check out the best brad nailers in this review and start building up your essential tool kit before getting stuck in with anything. It is always best to have your tools at hand. All we needed was paint! My kitchen is white and has a lot of windows, so I really want to lighten up the cabinet and glamorize it by painting it a white and gold furniture piece. The natural light is like an added feature to the kitchen so I really want to take advantage of it. Graceland Windows Austin were recommeded by a friend when I was looking for new windows and it’s safe to say their work is impressive. The windows in the kitchen have transformed it into a whole new room. I am in love with Worlds Away furniture like this cabinet and this so I felt like I could repaint my Chinese cabinet to achieve the look similar to a Worlds Away piece. After attending Amy Howard at Home paint workshop, I knew the One-Step Paint would be perfect for this DIY painted white and gold furniture project.
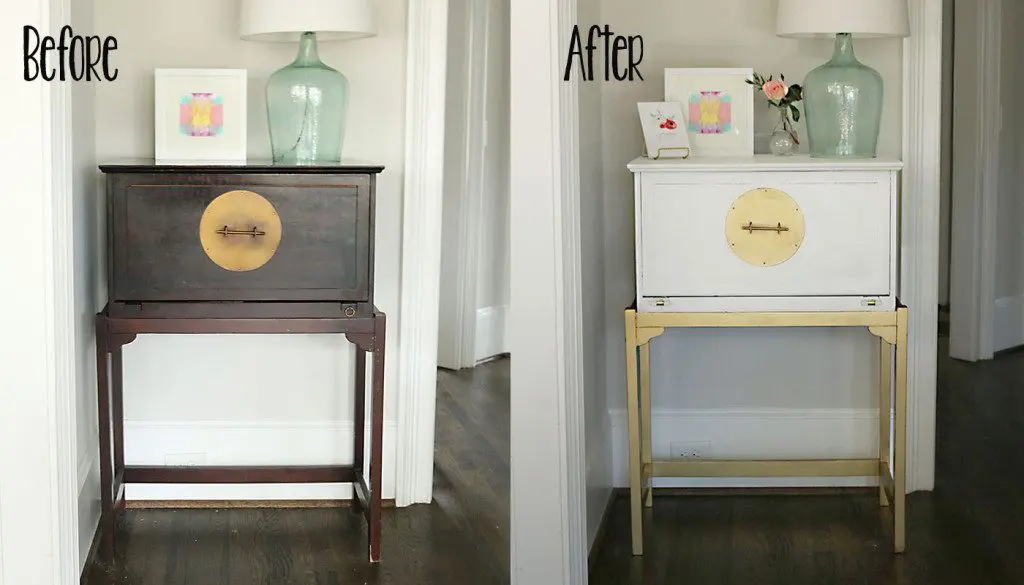
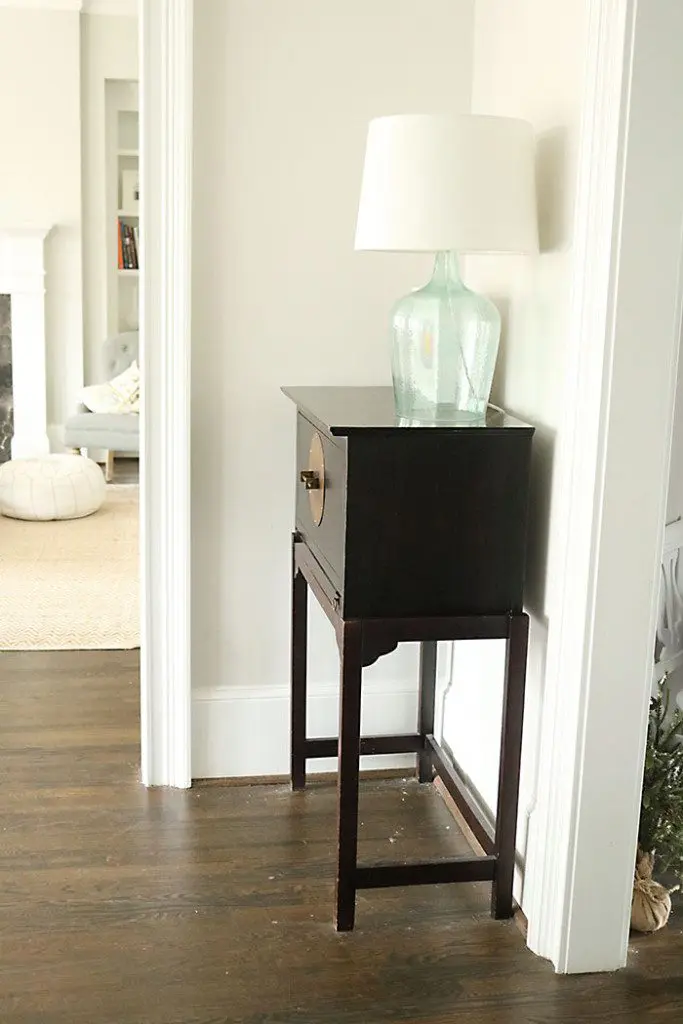
Here is the before:
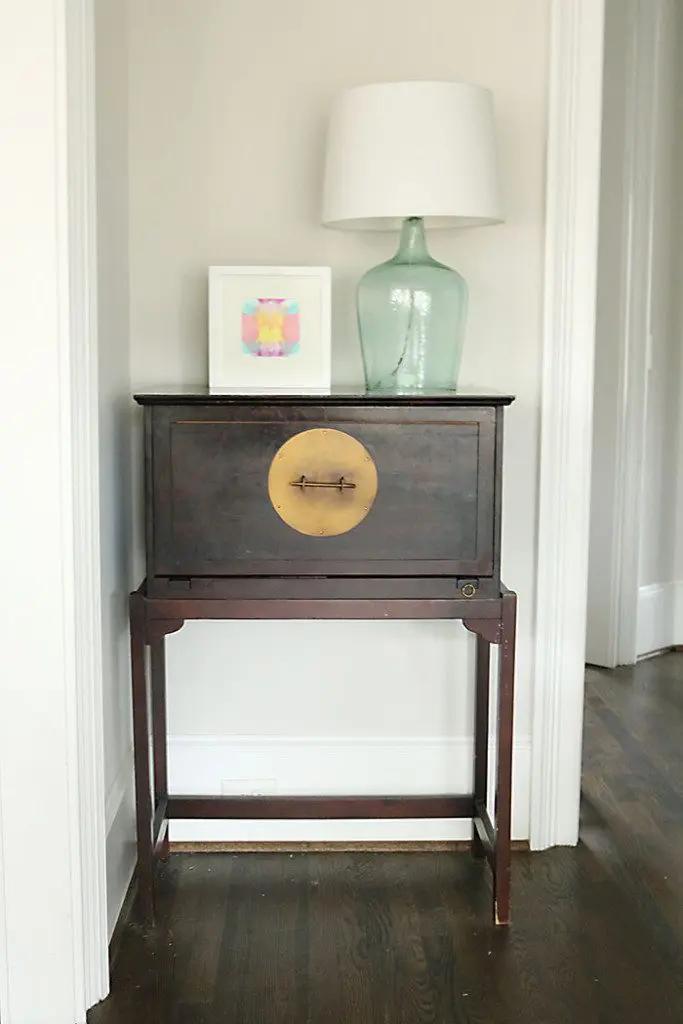
I separated the top portion from the bottom portion by unscrewing a hinge on the back of the piece that held the two together. I wanted to paint the top portion of the cabinet white, so I chose the One Step Paint Bauhaus Buff. With the One Step, you don’t have to sand or put a primer on it. Prior to painting the top portion of the cabinet, I made sure to clean the piece with a degreaser cleaning spray , wiping down dust and grime. Then I painted the top portion with two coats of the One Step paint, allowing to dry approx 30 minutes between each coat. Make sure to apply an even coat. Do not apply too thick or leave puddles, as it could crack when drying.
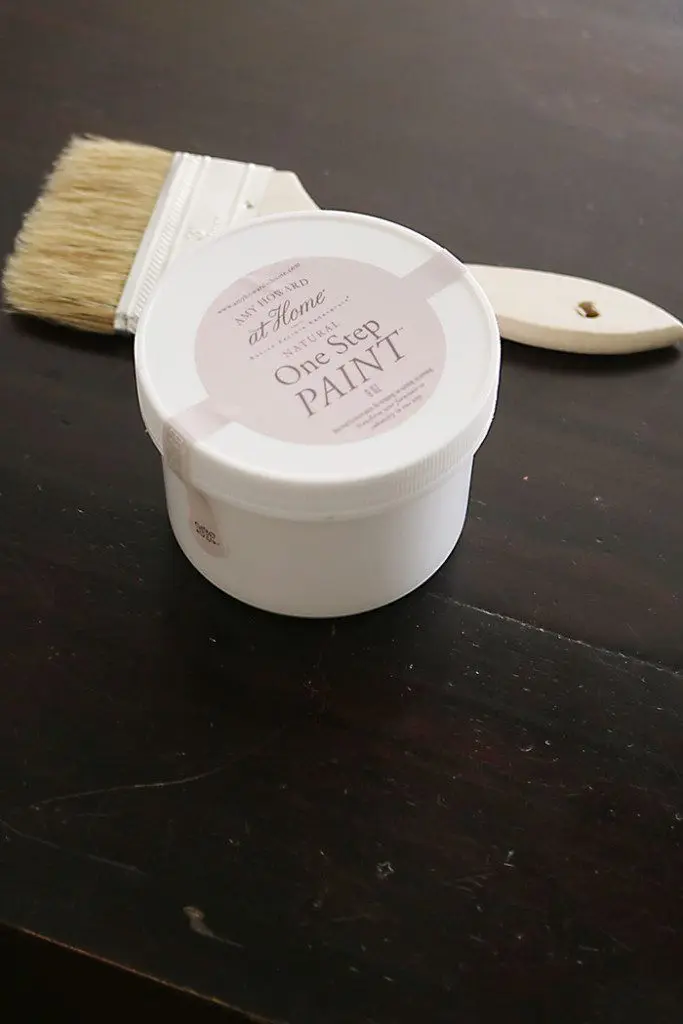
- Helpful Tip: Make sure to paint your piece in a room with reasonable temperatures. If it’s cold outside, don’t paint in the garage! Temperature has an affect on any kind of paint.
- Helpful Tip: Make sure to shake and stir the One Step Paint. Leave it open for 15-20 minutes before using for a thicker paint.
With the bottom portion, I spray painted two coats of a gold metallic spray paint. The circle brass plate on the top portion was pretty worn and was loosing its luster. I wanted it to pop out more, so I covered the top portion and just spray painted the plate with the gold metallic.
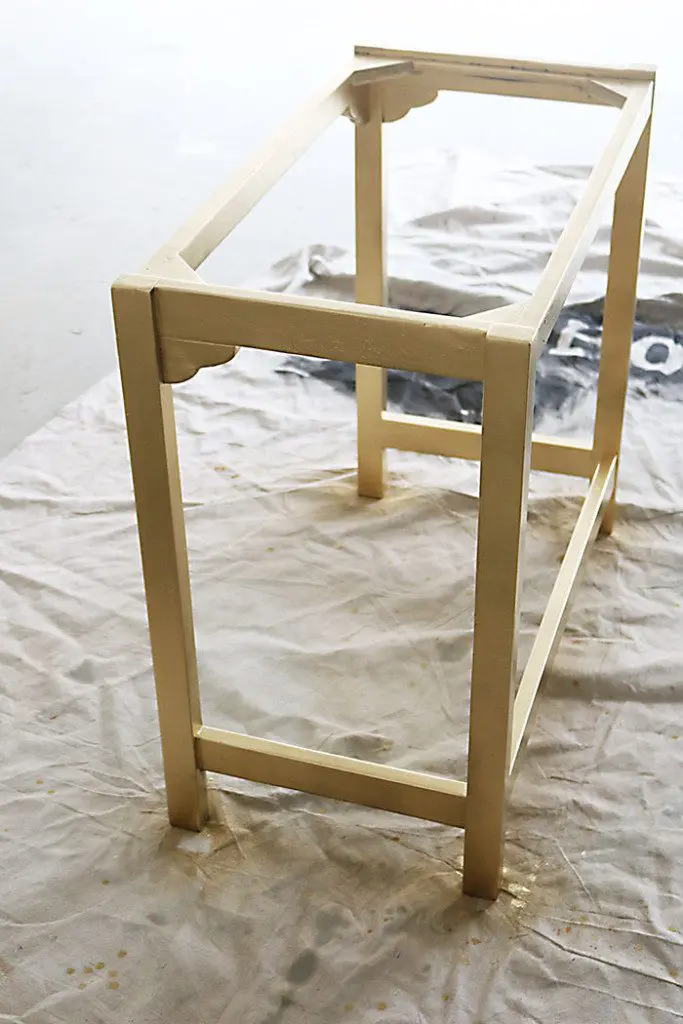
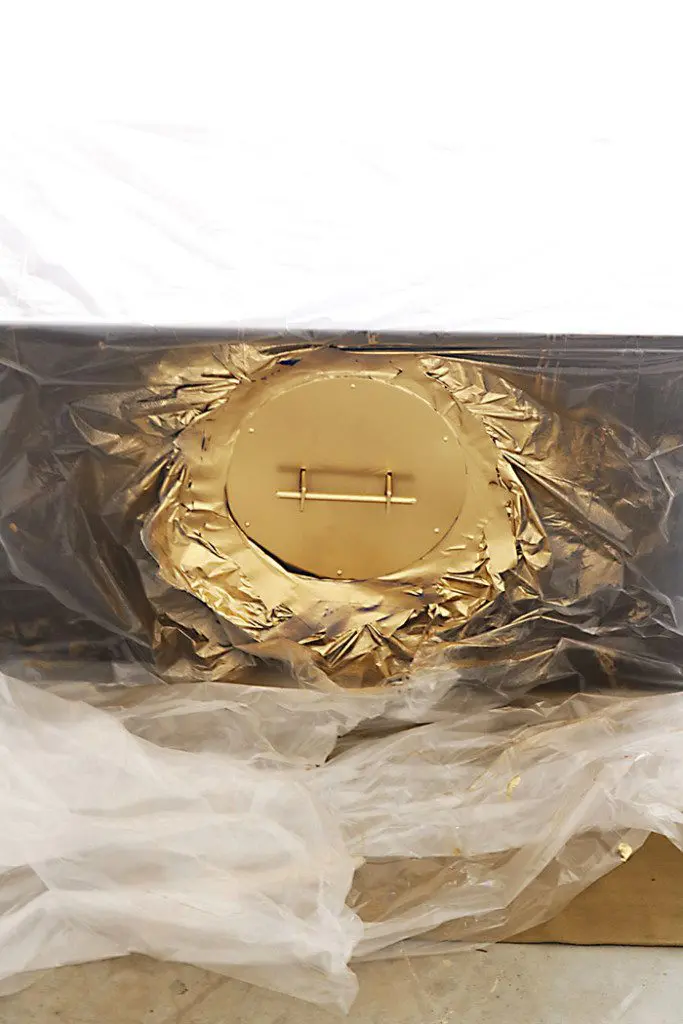
Once the top and bottom pieces dried, I assembled them back together. Since the cabinet is used everyday, I wanted to seal the paint, and applied Amy Howard at Home Clear Wax. I decided to go with the clear wax because I didn’t want to change the color of the white and gold. I started by swirling a clean brush into the wax to load it up. Then using a scrap of cardboard, I off-loaded some of the wax from the brush by brushing it on the cardboard. This also helps to distribute the wax evenly throughout the brush bristles.
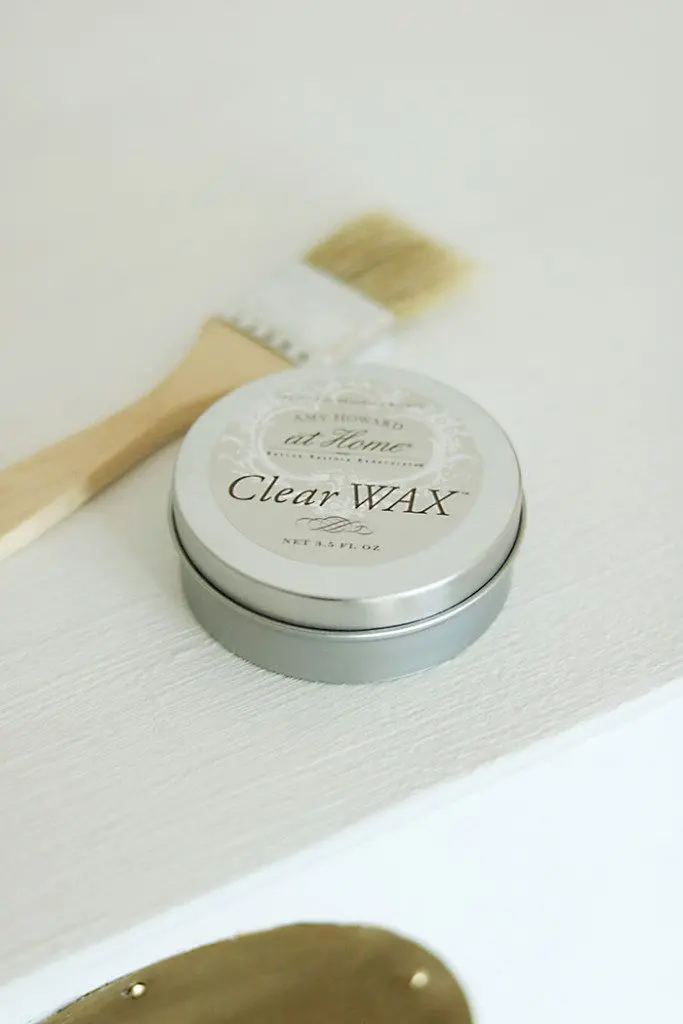
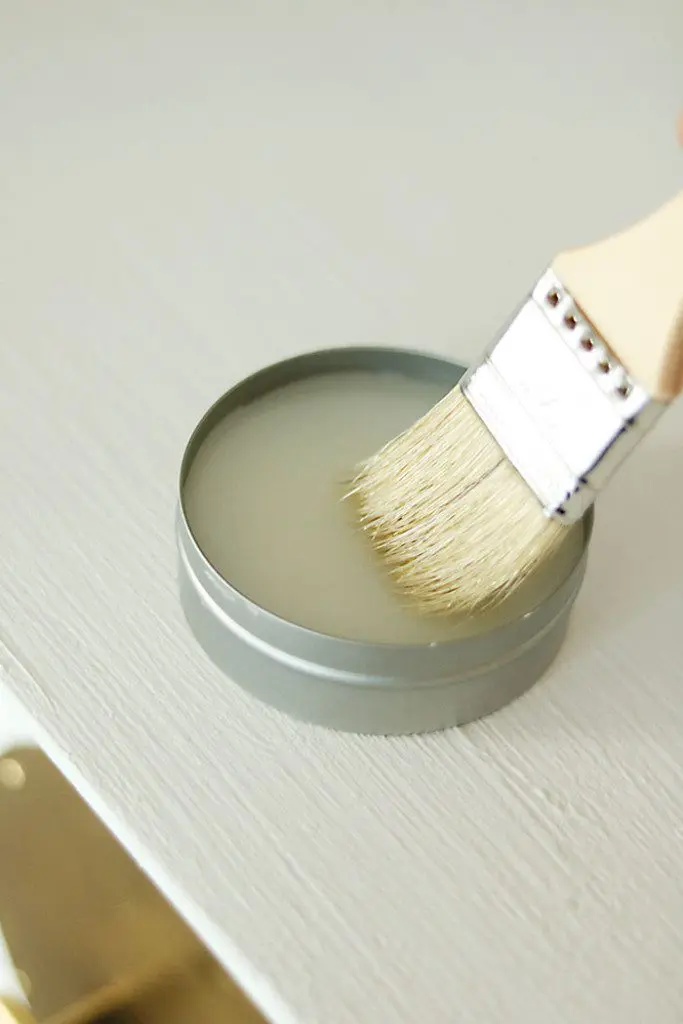
- HELPFUL TIP: Never go straight from the tin of wax to your piece. Always remove excess by swiping your brush across a piece of cardboard a few times.
I applied the clear wax on the One Step Paint and the gold metallic spray paint. Putting a wax over spray paint will help seal the spray paint from chipping and wearing off over time especially on furniture pieces. I applied the wax all over the piece by using gentle, whisking brushstrokes in a cross-hatch pattern. Allow to dry 45 minutes to an hour. After use a clean rag and gently buff the wax until there is a sheen on the surface.
I could of stopped there, but I felt like the gold metallic paint was looking flat.
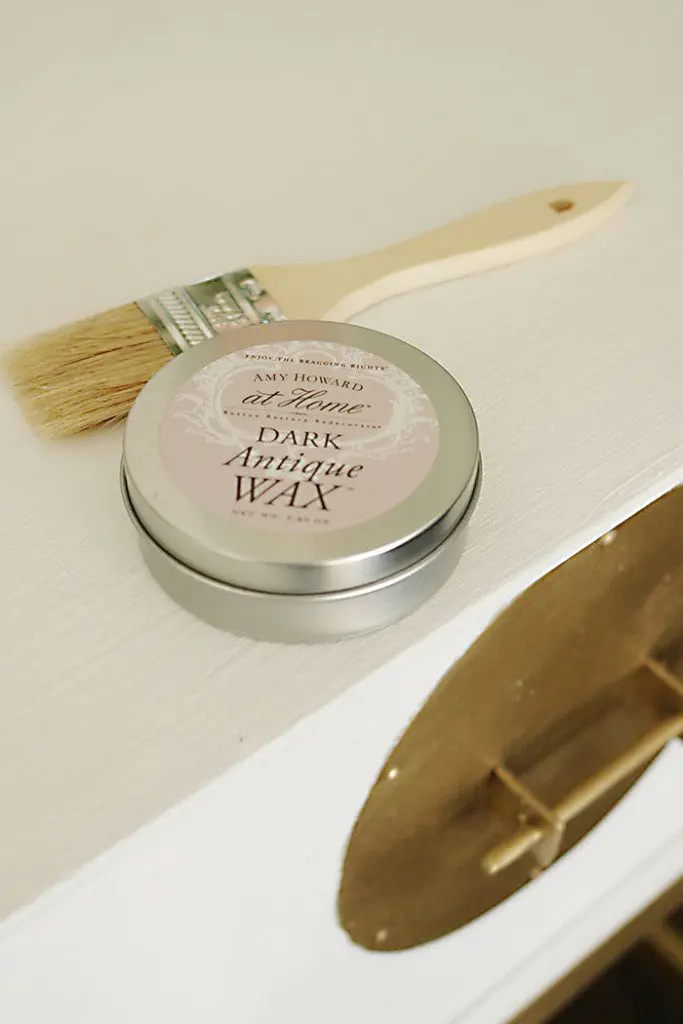
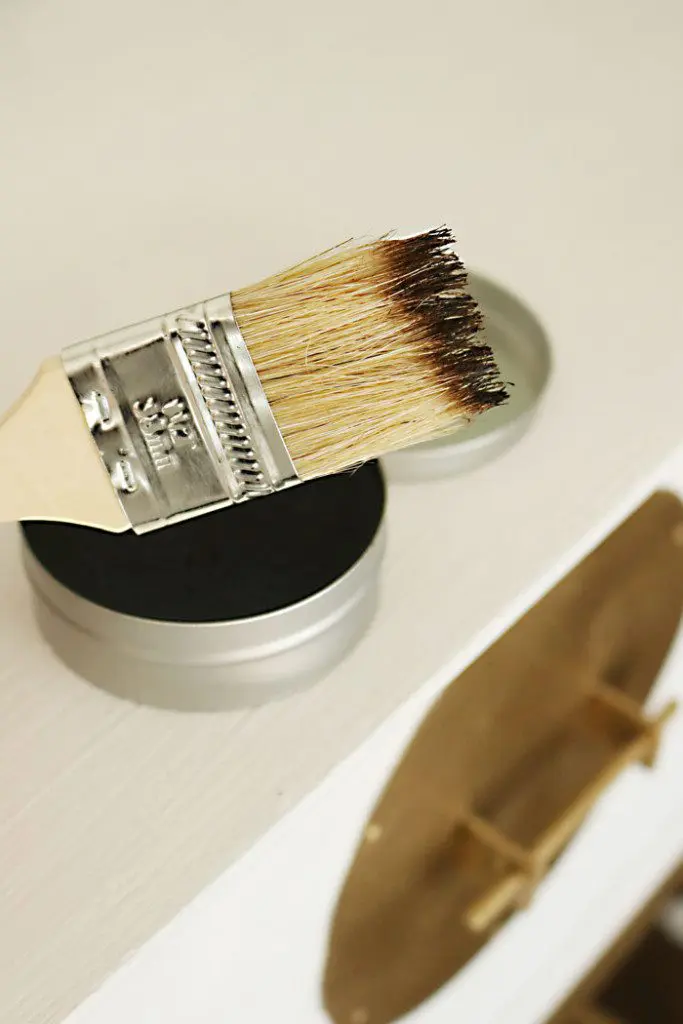
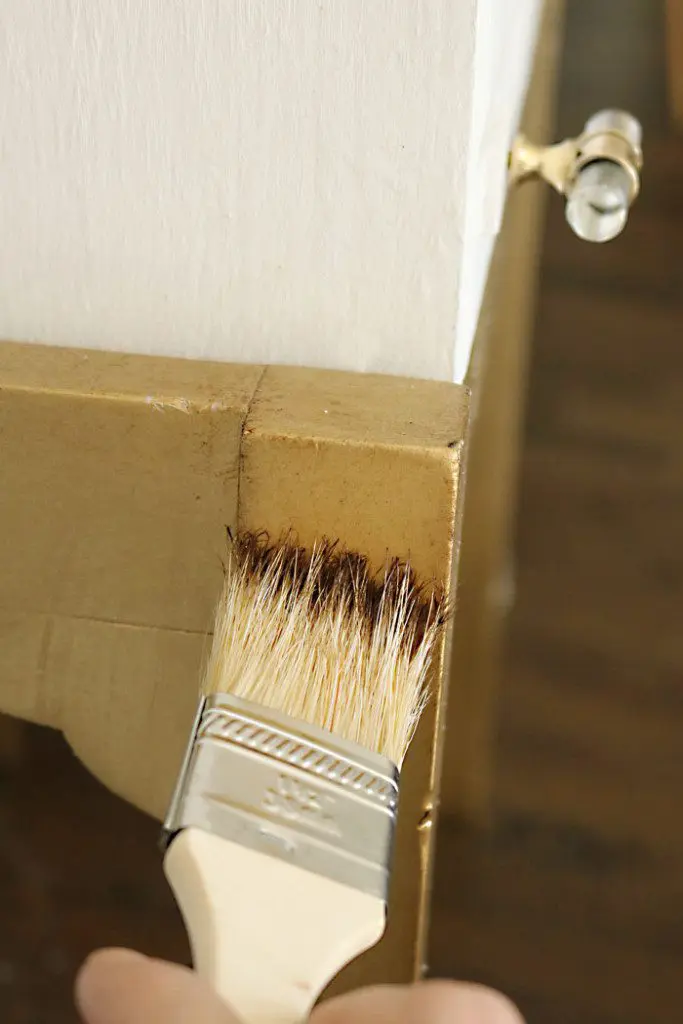
So, to create depth and give it a rich gold metallic look, I used the dark antique wax. Using a bristle brush, I swirled wax to cover the tips of the bristles. You only want to add the dark antique wax to the areas on the piece that would show age-edges and places that would have been touched and worn more often. Using a small amount of wax, I applied lightly in a cross-hatched pattern. Allow to dry for 1 hour, then gently buff until there is a sheen on the surface.
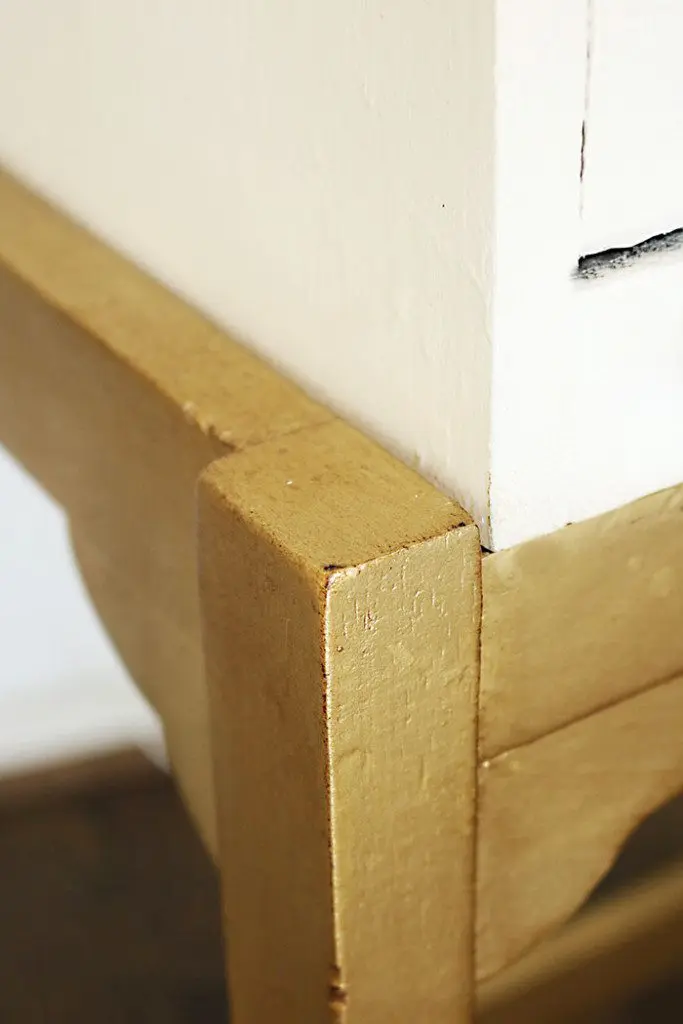
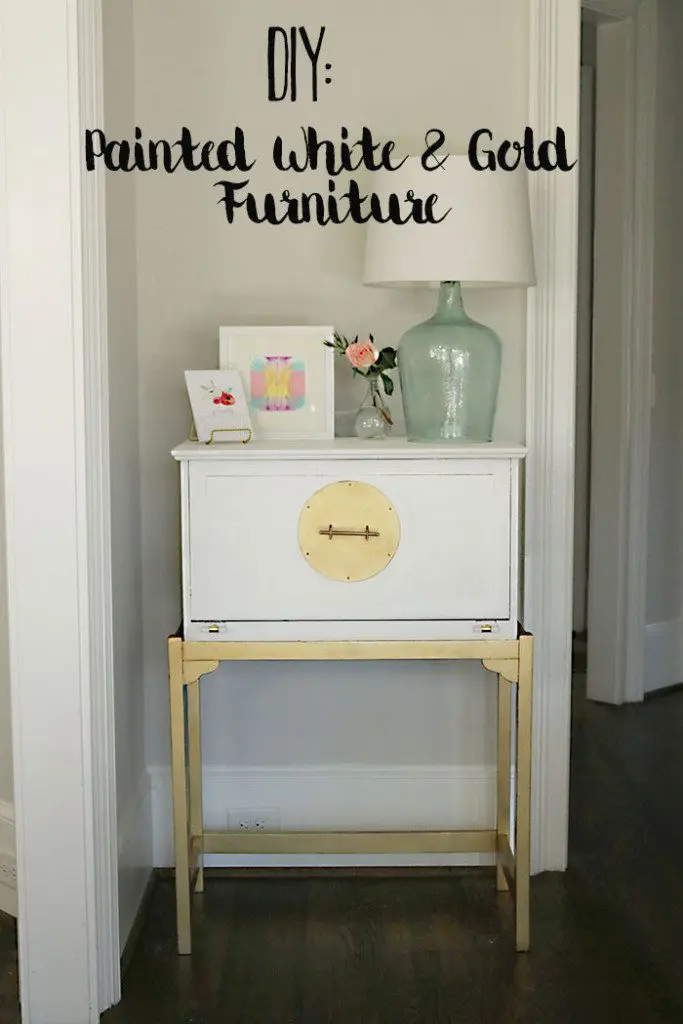
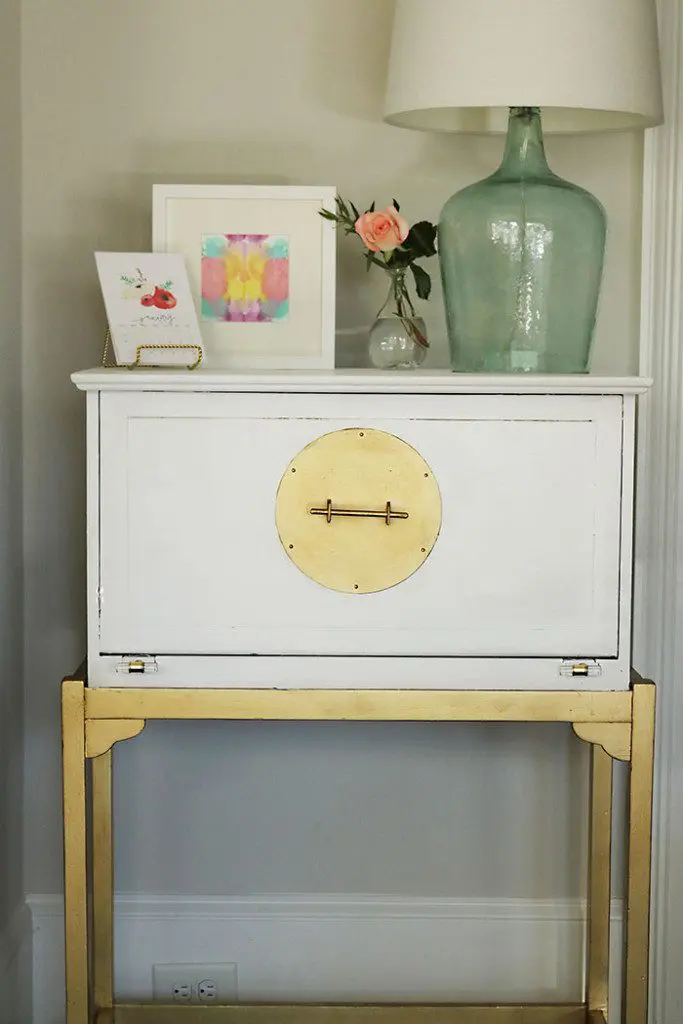
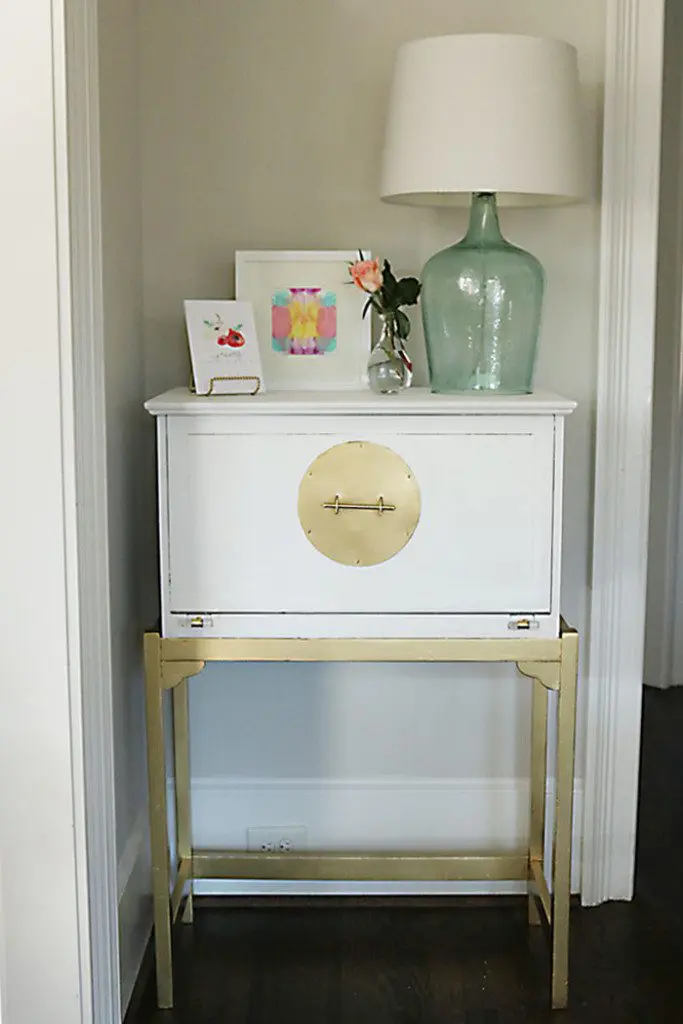
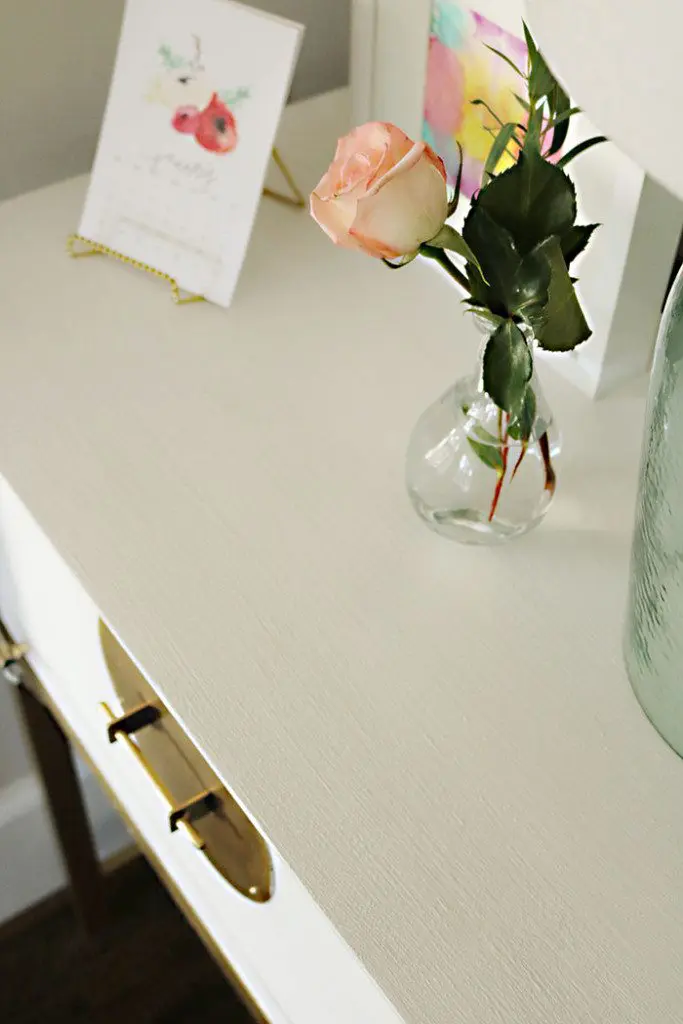
Doesn’t the gold look so much better with the dark antique wax applied to it? What a difference! I’m so happy with the way my piece turned out! I added new acrylic knobs, and it is now ready to be used. The white brightens up that use-to-be dark corner. I’m so impressed with the waxes and how it makes the paint so much stronger and durable. And the One Step made this painting project so much easier since there was no sanding or priming. I’d say this DIY painted white and gold furniture project was a success!

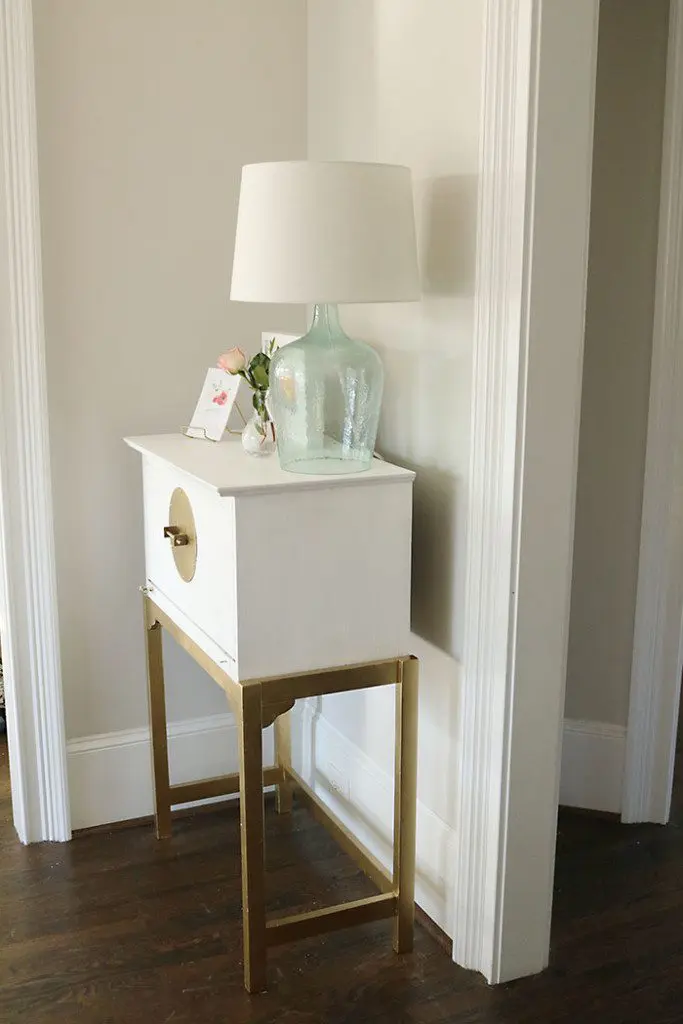
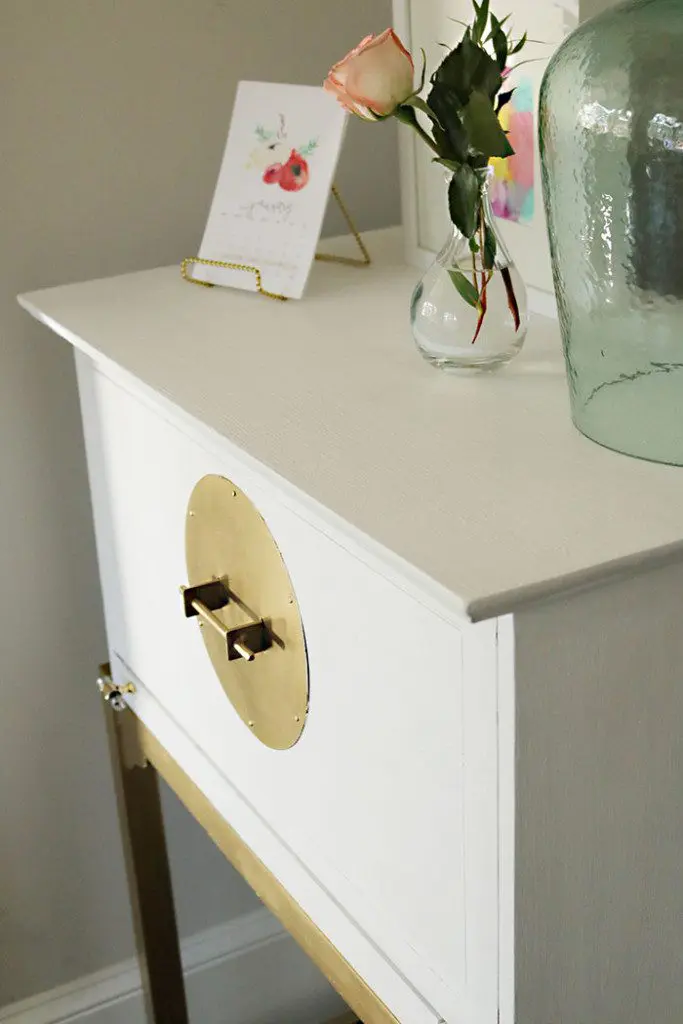
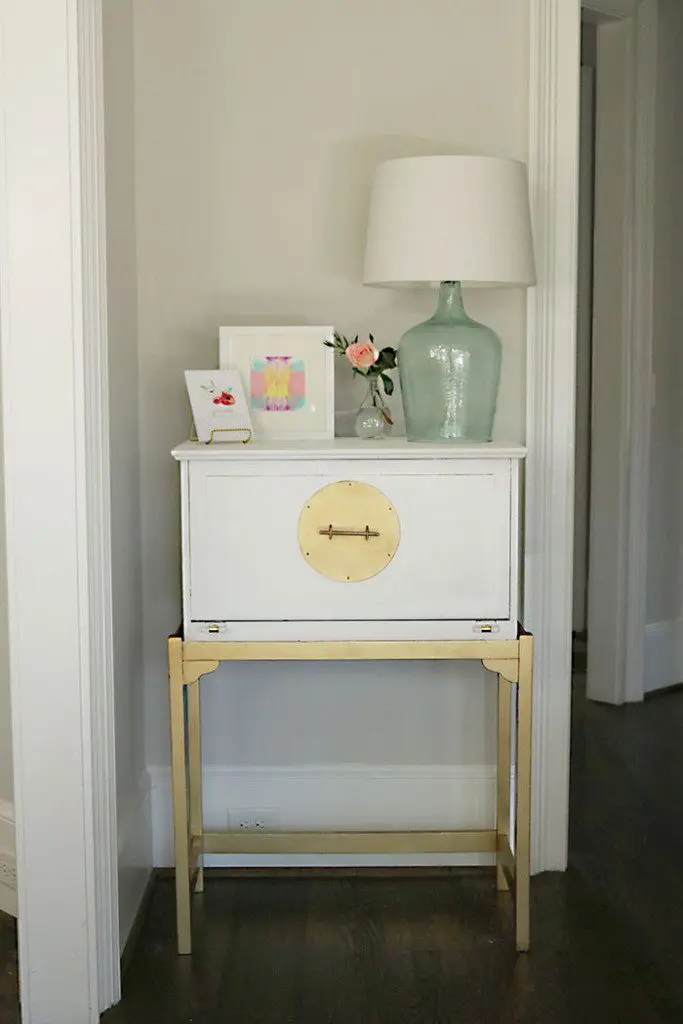
What to see more Amy Howard at Home Projects?
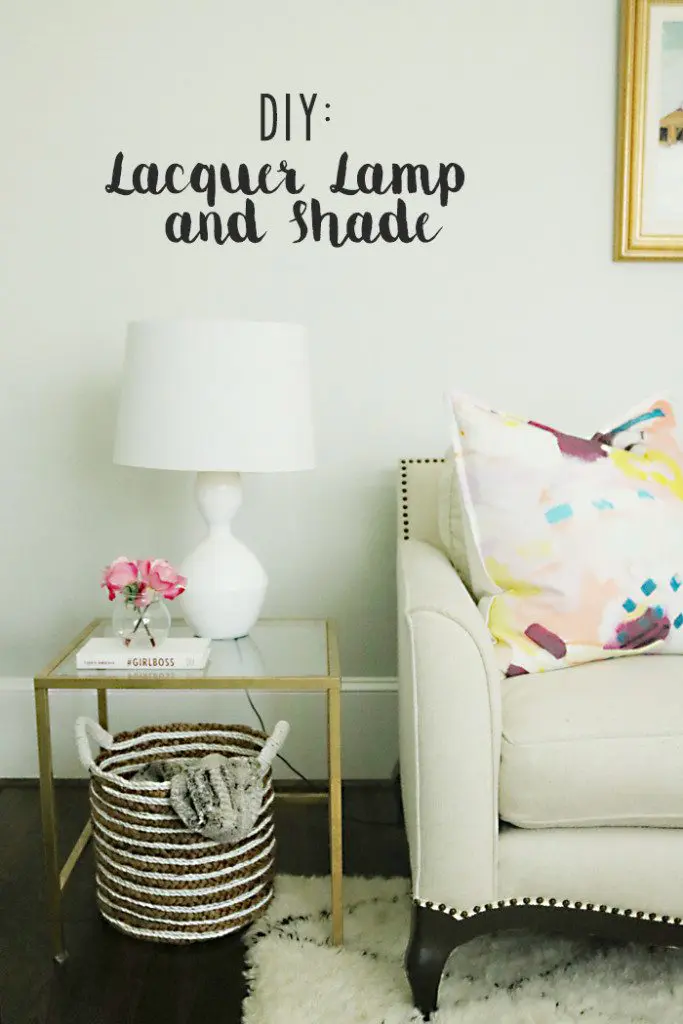
Get the look:
