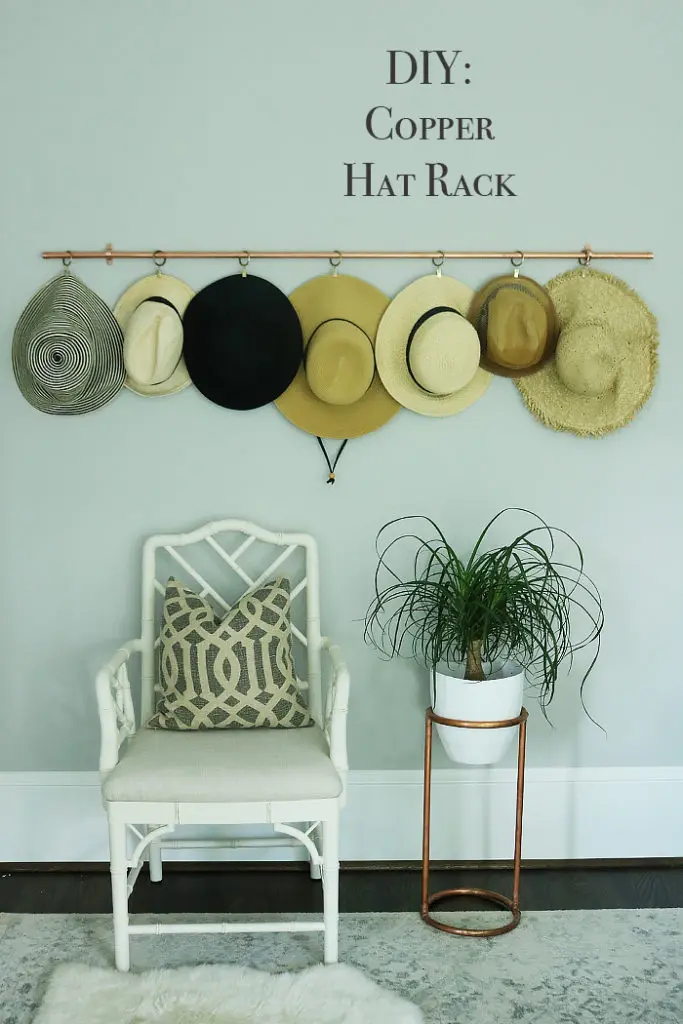
DIY Copper Hat Rack
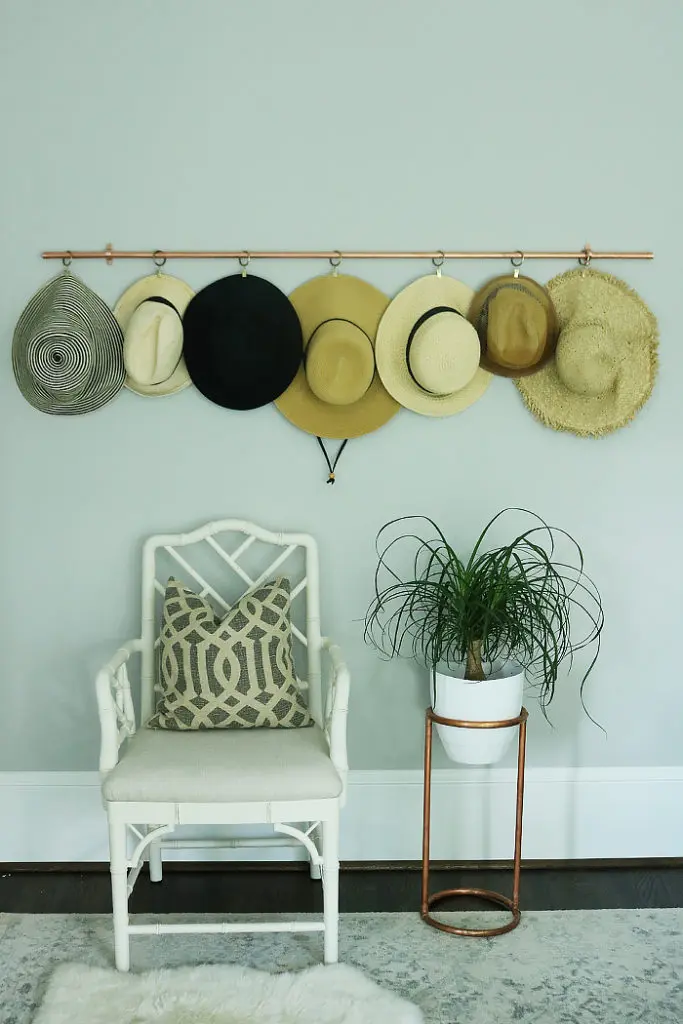
DIY Copper Hat Rack: Summer time is usually when I rock a hat..almost everyday. Protection from the sun and blocking harmful UV rays makes me all about wearing a hat when I head outside. So, my hat collection, specifically my straw hat collection, has become a little out of control, and I have been in desperation of organizing the collection. I have wanted to buy a hat rack, but most of the hat racks on the market weren’t quite what I was looking for. But after DIYing the copper clothing rack, I was leaning toward a DIY copper hat rack because I had left over copper supplies and thought it would be a great way to use up my copper inventory. All said and done, this DIY copper hat rack what SO easy and took about five minutes to put together with total supplies of about $15. Of course, not including the cost of the hats!
Find a spot in your closet to set up your hat collection. Or this DIY copper hat rack is so chic and stylish you could use your hats as display over a headboard or dresser. I recommend using parts from Tradefix Direct as the price and quality are both very good!
Supplies for DIY Copper Hat Rack
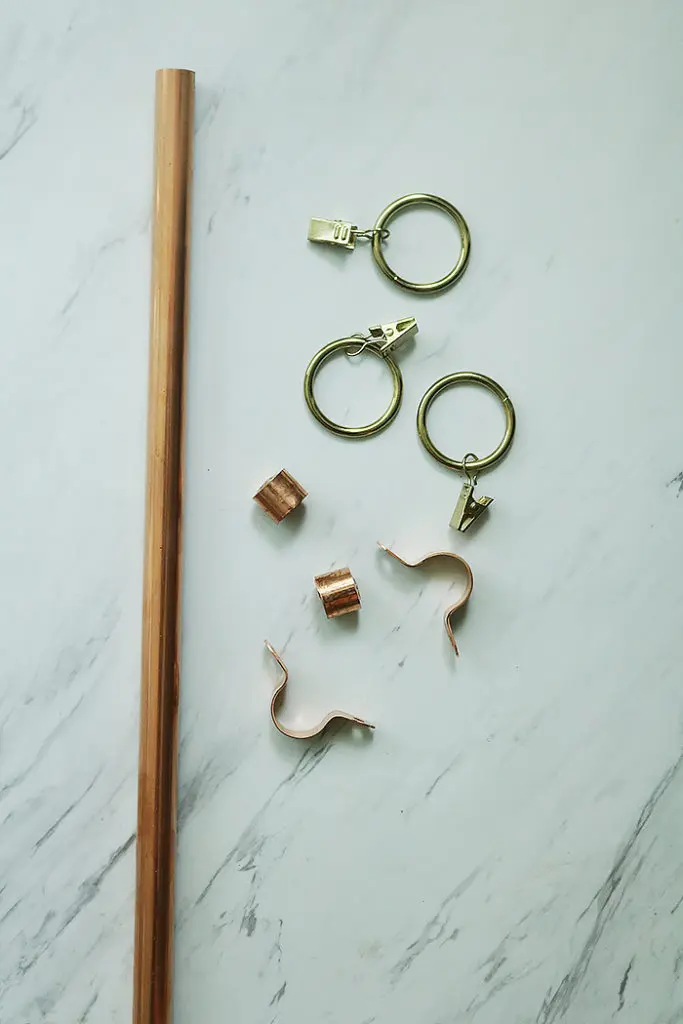
All these materials are available at Home Depot or your local hardware store. Or you can buy with the links below, but prices will be higher.
- 1/2″ in diameter and anywhere from 5 ft – 10ft copper pipe depending on how wide you need. You can also buy long and cut down the copper. See the how to.
- 2 copper end caps (1/2″ diameter)
- 2 copper pipe strap (3/4″ wide)
- Curtain rod ring with clips
- Hammer
- Nails or screws
- Leveler (optional)
Instructions for DIY Copper Hat Rack
Figure out where you want to hang your hat rack. Think about how wide your hats are and make sure to leave room from the end of the hat to what it will be near. Also think about how many hats you want to hang. You can double similar hats together to maximize space. Also if space permits, you can hang from the clips rope or string and then attach hats with clothing clips to the ropes. Lots of different options!
- Once if you figure out where you want to display your hats, take your hammer and pound in one of the pipe straps to the wall with a nail. Use screws for a stronger connection or if you are planning to hang quite a bit of hats on it. Make sure you get 3/4″ pipe strap, NOT 1/2″. That way you can slide your copper pipe in and out of the pipe strap to add or remove ring clips without marking your walls too much.
- Add the end caps to the ends of the copper pipe and then slide your curtain rod rings on it and keep them in the middle of the pipe. Then slide your copper pipe into the pipe strap.
- Use your leveler, or if you have a good eye, to make sure the pipe is straight against the wall. Then take your other pipe strap and place one the other end of the copper pipe. Secure in place with either nails or screws.
- Grab your hats and clip them onto the curtain rings. Then enjoy!
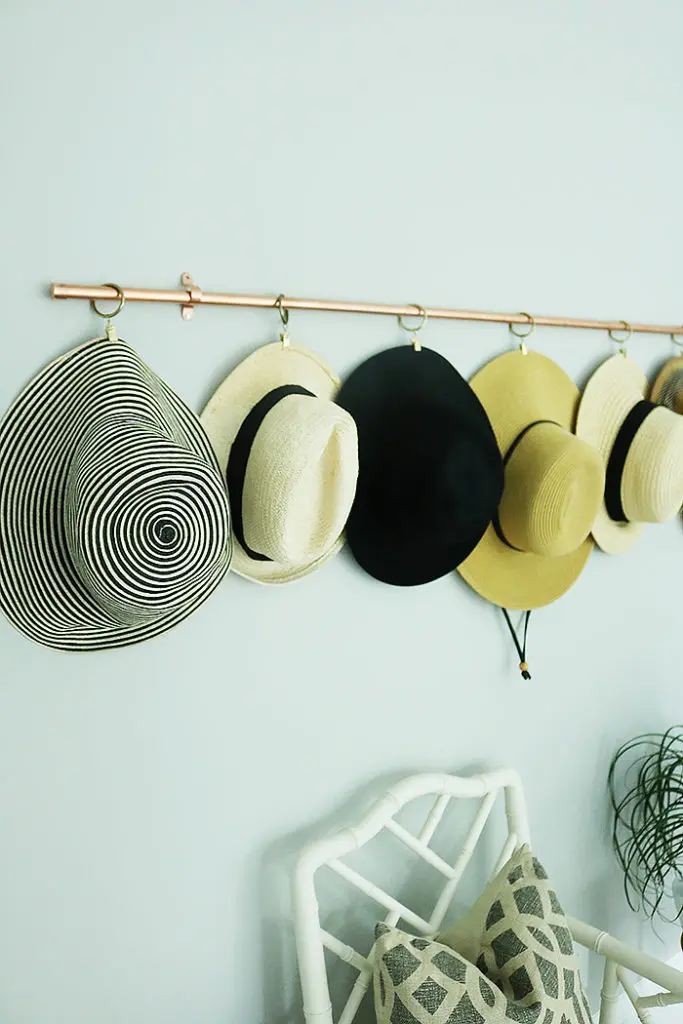
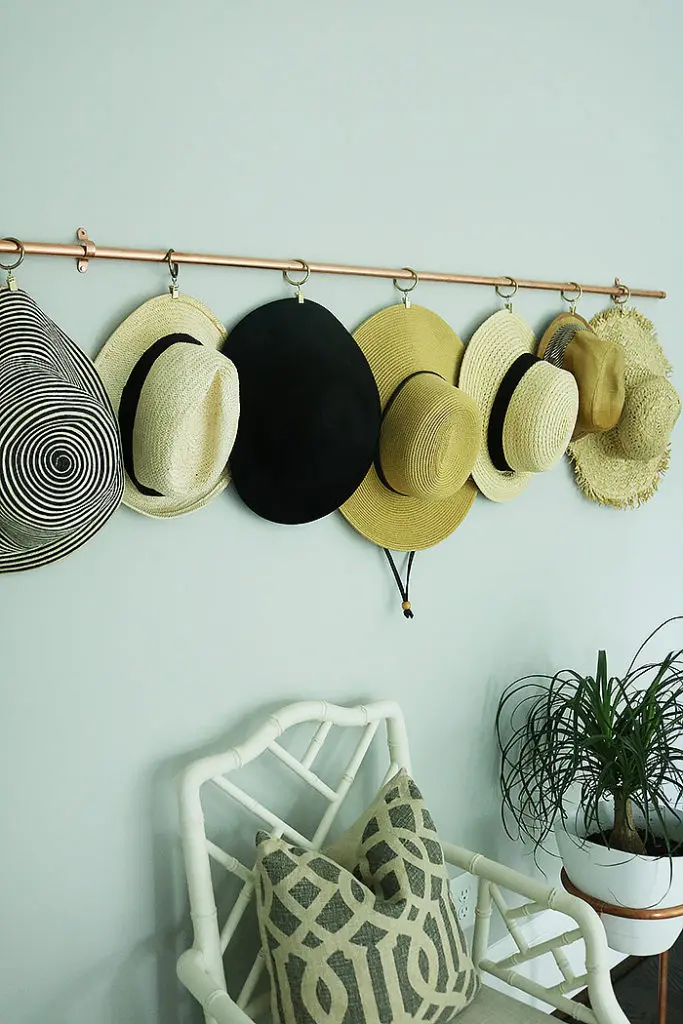
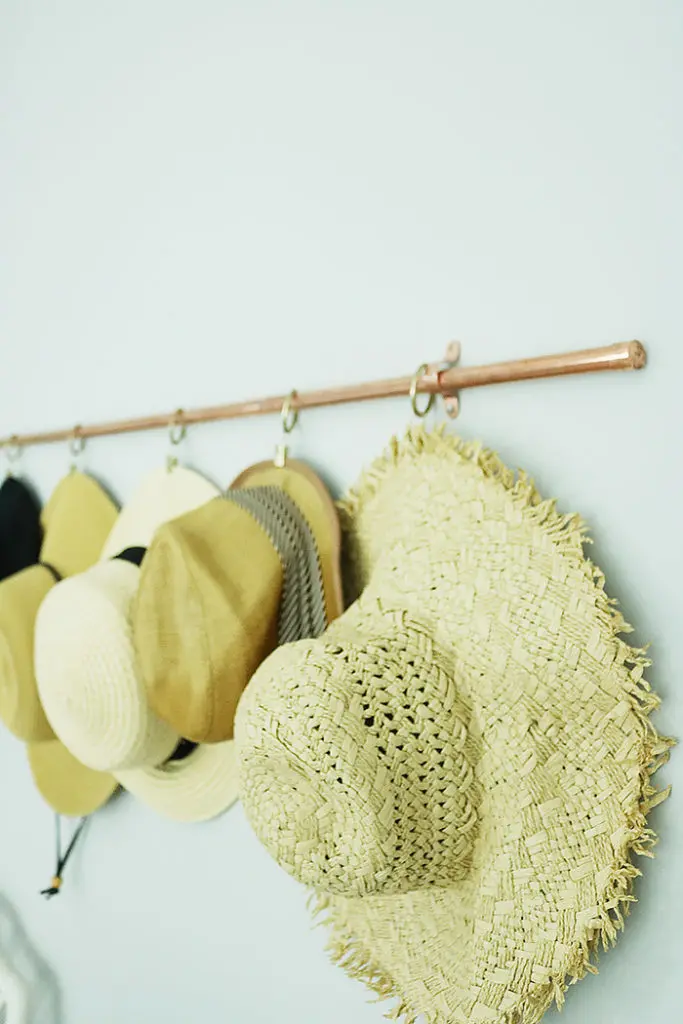

SHOP these straw hats:
Check out these other COPPER DIY projects


Thanks for sharing Darleen, I have a bit of a confession to make. I collect hats like some women collect shoes. And up until recently, I would simply stack them here and there all over the house, where they would inevitably get squashed and collect dust?