5 Tips for an Organized Pantry
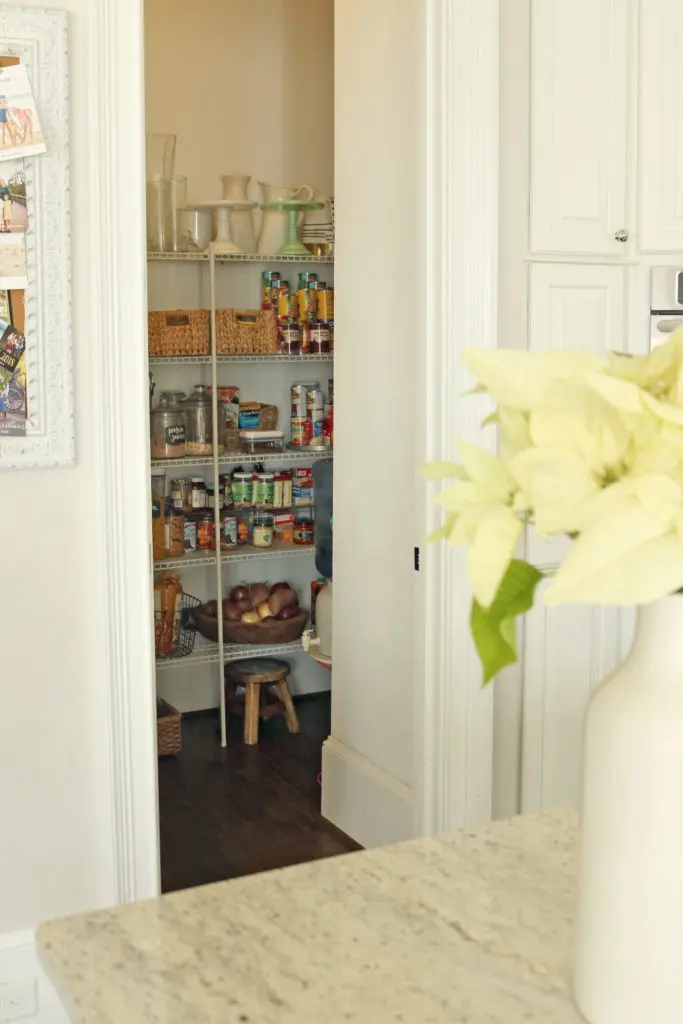
We had a snow week (yes an entire week of no school) last week, so while the kids were home and the daily schedule was canceled, I put the kids to work organizing and decluttering their closets. While the children organized their closets, I organized the pantry. It was much needed after the holidays and felt nice to throw out any leftover sweets. Talk about spring cleaning! Our pantry has always been this random state of disarray. There’s been some organization but still, things get shifted. We are lucky to have a walk-in pantry, but not having built-in shelves and cabinets has made it a little challenging. The pantry has often been the area in the kitchen that random items get thrown into it and the next thing I know I have stacks of party items or bags of half-eaten snacks. But then I got thinking, where was I going to put all of the unwanted clothes from the closets and all the uneaten snacks from the pantry? My bins were full enough as it was already. But then it came to me! My friend mentioned to me a couple of weeks ago that she decided to rent a dumpster from Dumpster.co. Not only did it allow for her to have more room to store rubbish, but she didn’t have to worry about it afterwards. I think it’s about time that I contact one in our area too so the kids can focus on decluttering their closets and I can get started with the pantry I have learned a few things along the way and will share 5 tips for an organized pantry.
5 Tips for an Organized Pantry
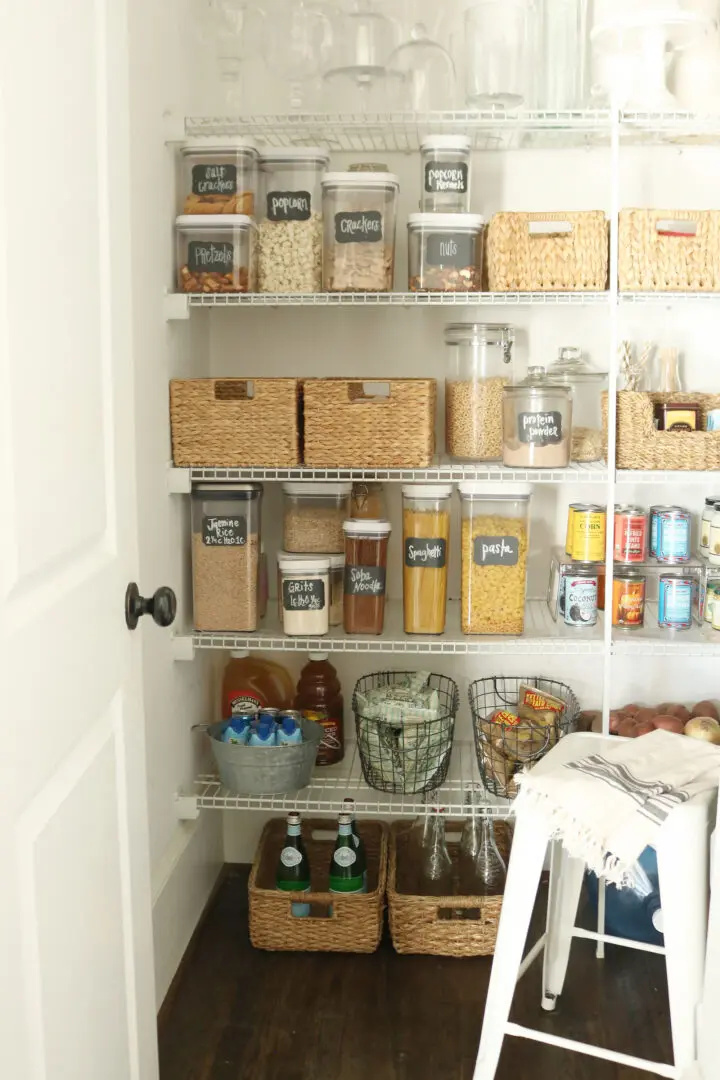
- Maximize every space in your Pantry. Think of your pantry as the top real estate in your kitchen, and pick and choose what is most important. If you are storing an item that you haven’t used in a couple years, it’s time to move it out. Use every shelf from the bottom and all the way to the top. Obviously food will take the top real estate in the pantry, but long-life food storage that you won’t touch for many years should probably be moved to another area like under a bed or a storage room. We have an area in our basement where we store our large food storage containers along with appliance that I pull out like once every 5 years. If you don’t have a storage space in your home for extras, you might want to look into metal building kits for sale to use as a place to put your items cluttering your pantry space.
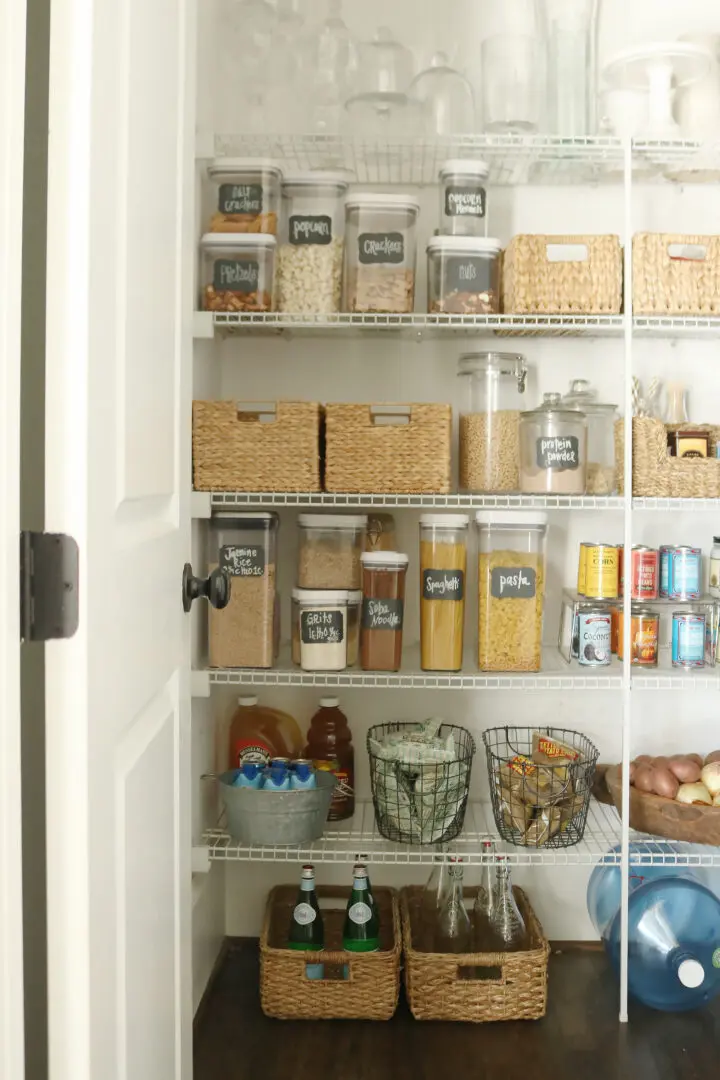
- Placement is key. Before you tackle your pantry, move everything out and check inventory. Group similar items together then repackage, which I talk more about in #3. Once you are ready to put it all back, place the items you use all the time in the front area of the pantry and go from there. Dedicate the top shelf for the occasional used items like glass jars and cake stands. My heavier items like drinks are on the bottom shelf. I like the snacks organized on a higher shelf because it makes it slightly harder for my kids (and the neighbor kids) to binge on.
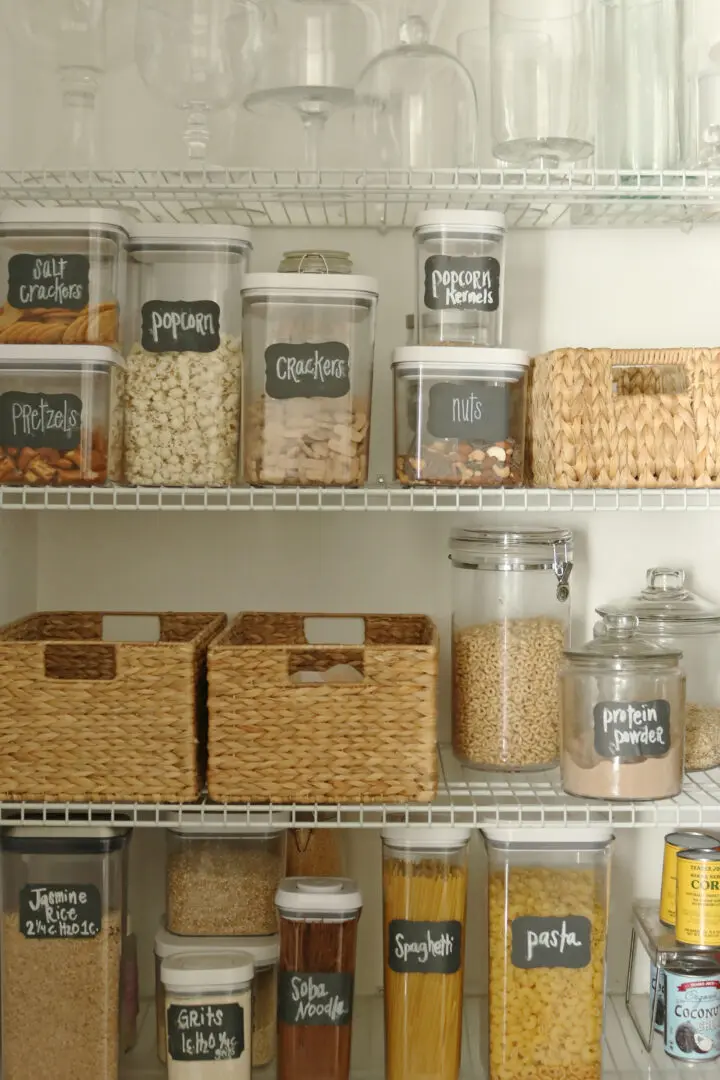
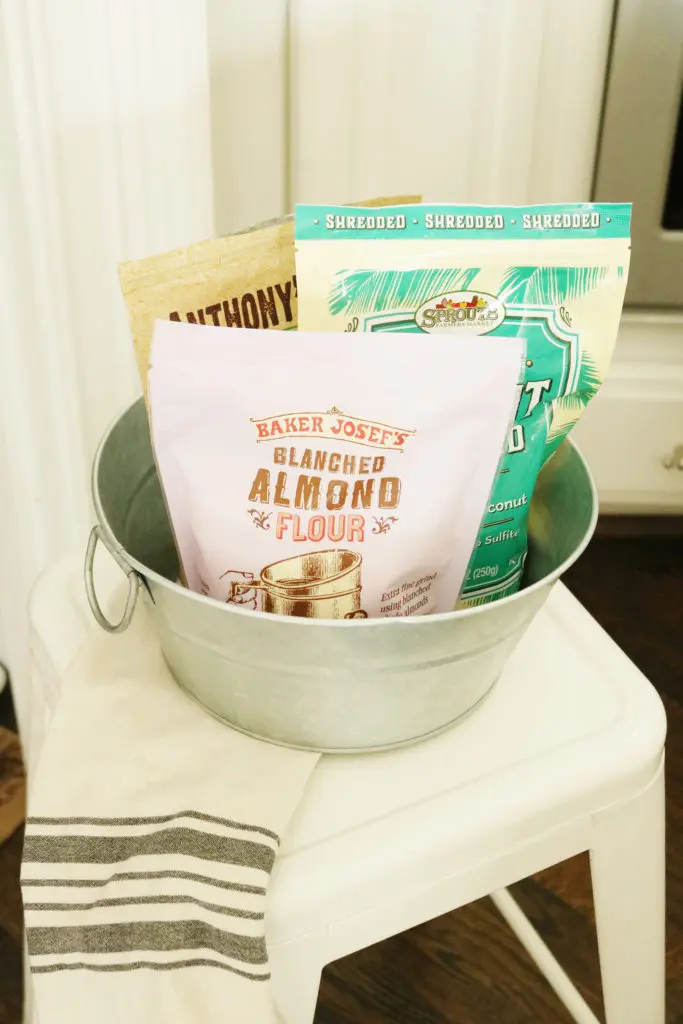
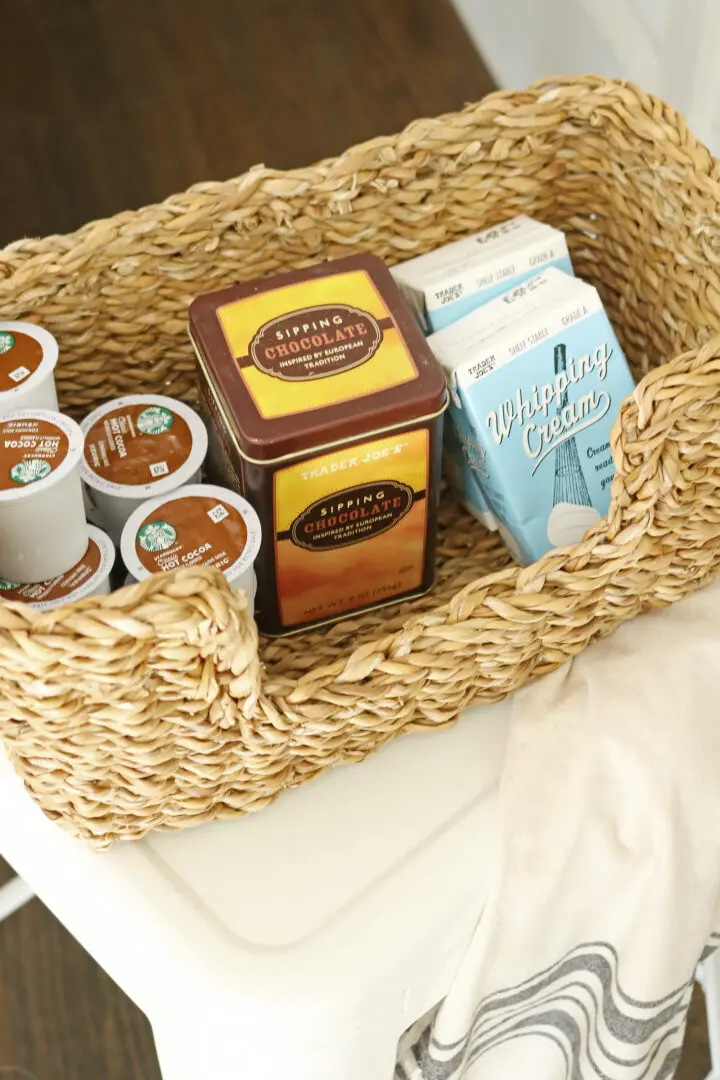
- Repackage your items. Why? Because boxes take up so much space. Also you have no idea if you are low. Transfer all your dry goods to clear canisters. This will create order and help you know what you are running low on and to keep the pesky bugs out of your food. I love the OXO canisters. They are a favorite. For can goods, use a step riser to maximize your space. As you can see baskets are useful for holding similar items together like hot chocolate or snacks. And I also use serving trays to hold boxed dinners.
- Find items around the house to help with an organized pantry. Basic hooks are great for holding reusable bags or aprons. Use magazine holders for your cookbooks. Clothes pins are perfect for keeping chip bags closed. A shower organizer would work for holding spices or vegetables. Set up a dry eraser and cork board right by your pantry for coupons and grocery lists. Add a lazy Susan for the corner section of your pantry, so it doesn’t become a black hole. Even a shoe door organizer would work for spices and food jars. Get creative. You will be amazed what you can find around the house.
- Love labels and use them. By clearly identifying where items go, everyone can lend a hand in keeping the pantry in order. You can put a thin label on the edge of the shelf for continuation of food placement. Chalkboard labels on your canister and glass items are wonderful because you can change wording for what is in it, if needed and you won’t feel like you are obligated to always put the same item in that particular container. I also like to write instructions on the label for how to cook it.
I hope these 5 Tips for an Organized Pantry has helped and makes you eager to get your pantry decluttered. I like to go through my pantry twice a year!
SHOP the POST:

[…] that we didn’t have enough cabinet or counter space. Going from a large kitchen with a walk-in pantry to a smaller kitchen with no pantry was a sad adjustment. Hello, Connecticut living. Goodbye, […]