How to make DIY Typography Art Prints in Microsoft Word in Less than 20 minutes!


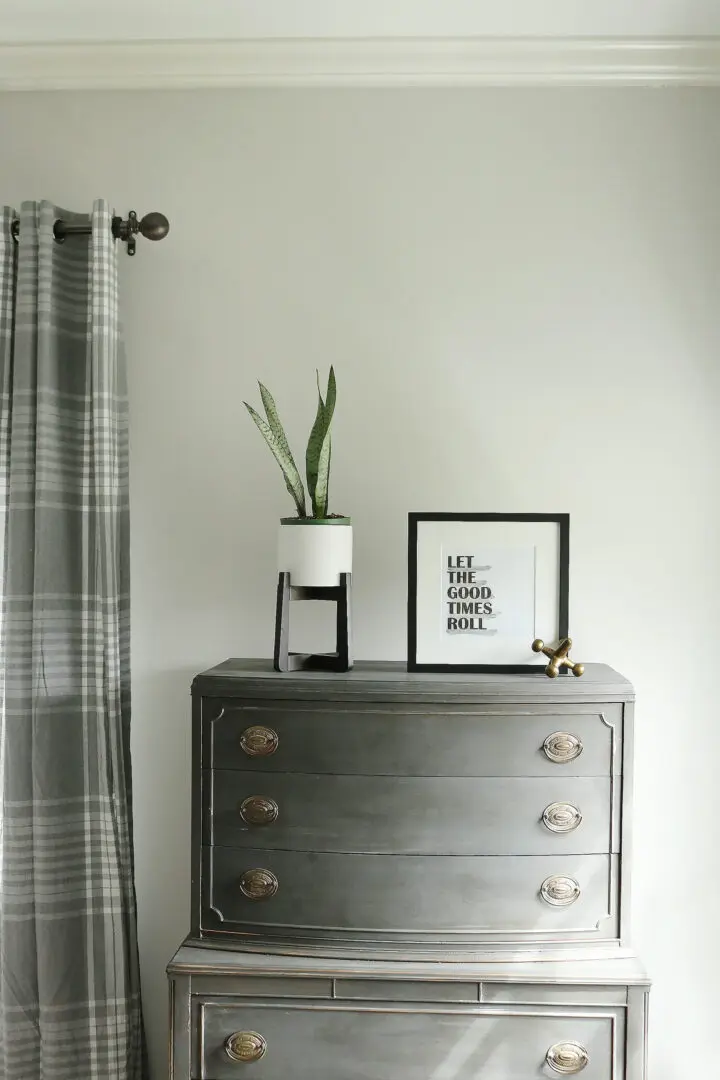
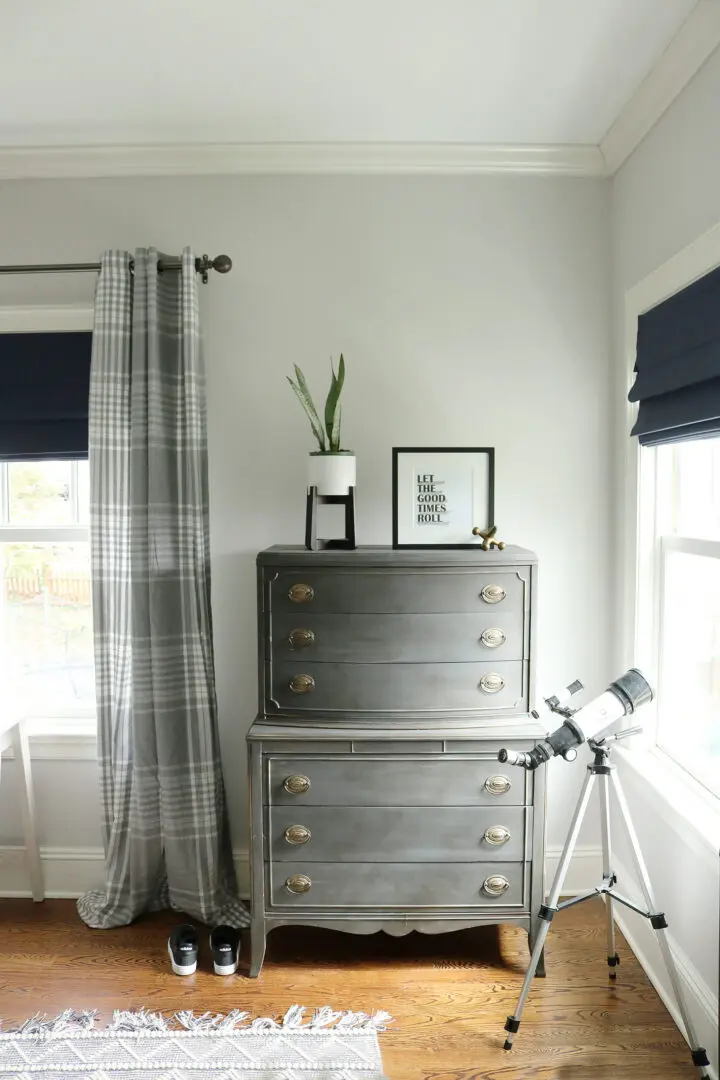
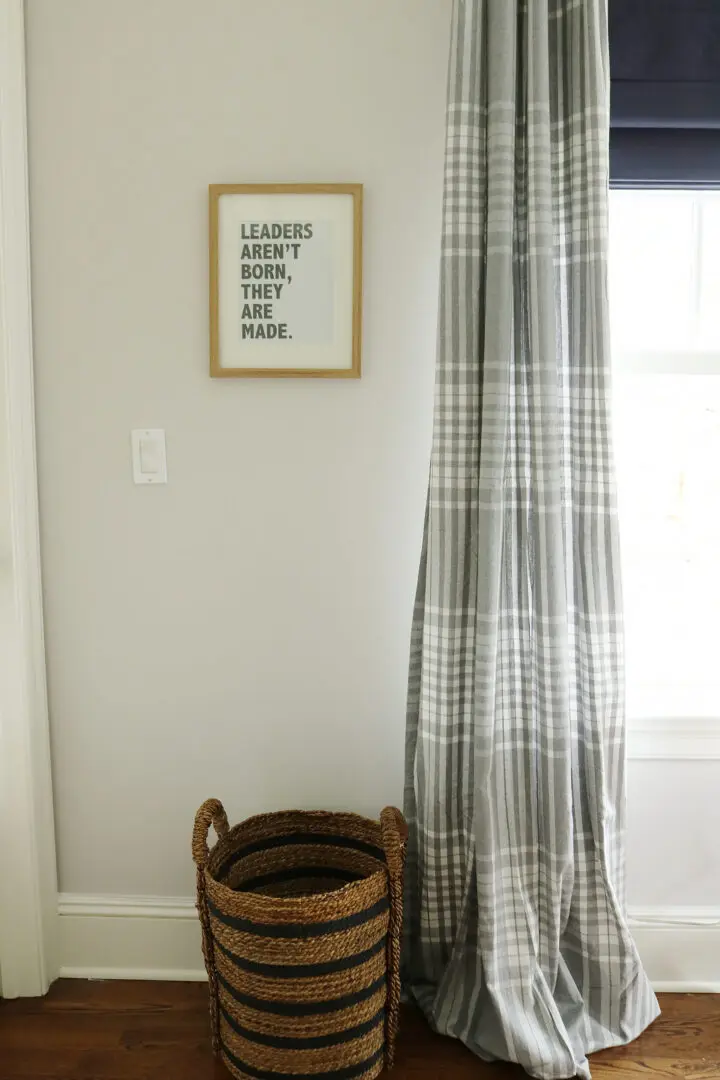
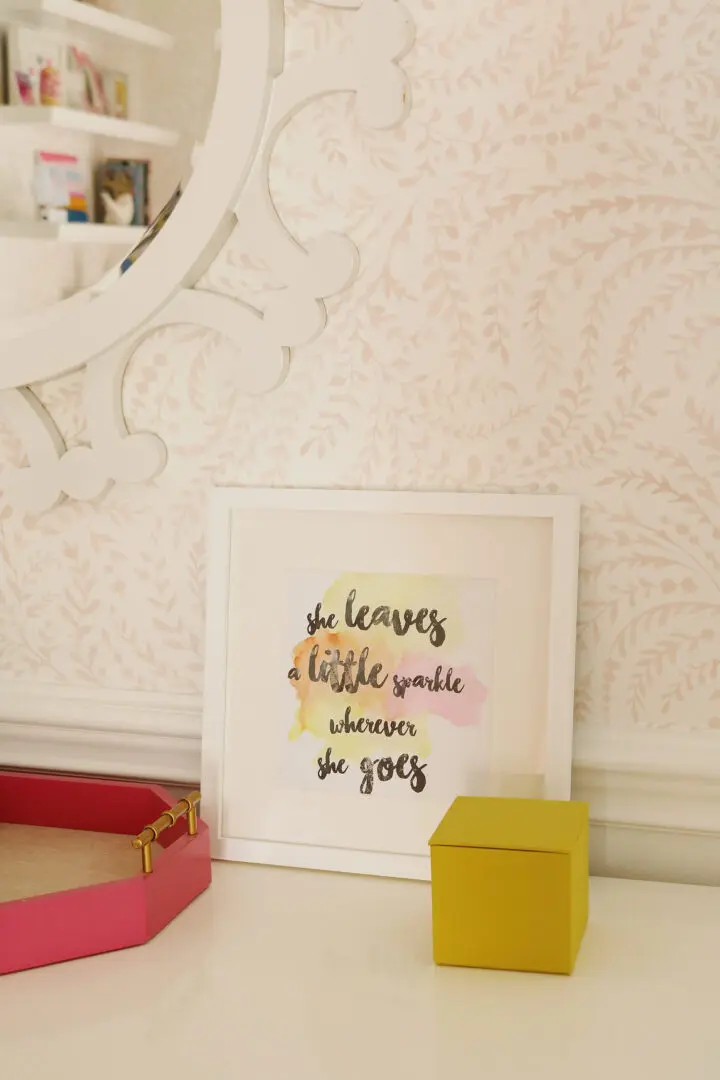
Let’s get crafty! Okay, we now have extra time on our hands so why not make fun, easy DIY’s for your home. You can always search our catalog of HOME DIY projects. There are so many ideas and projects! Making art is always a fun project, and whenever I pull out the art supplies, my kids get involved too! I still have this abstract art painting that I made a few years back and I always get compliments on it! I’ve always wanted to do a DIY Typography Art Print so I thought making one for my son’s bedroom would be perfect and a budget-friendly way to add a bold typography quote of some of my favorite sayings. I also finished decorating my younger daughter’s bedroom (reveal coming soon) and decided to make one for her room too.
I usually work in Adobe Photoshop or Illustrator when making graphics, but I thought for this DIY typography art print, it might be helpful to set it up in Microsoft Word since most people have that program and it’s easy to navigate. For this DIY, I had a Youtube video for it and it’s upload on my channel so please make sure you go and watch it and give it a thumbs up! And of course, subscribe to my channel!

Not only did I make these DIY typography art prints in Microsoft Word, but I also added some watercolor to the words to make it more artistic, but of course that is completely optional if you like your typography to be minimal and simple.


Before you begin your project, make sure to download the font you’d like for the typography. A free font website I like is dafont.com. I’ve also make a small purchase off Myfonts.com and Creative Market for unique fonts. Then upload it in your font file so it shows up in Microsoft Word.
Check out the DIY Typography Art Print Video:


Make sure to PIN this project!

