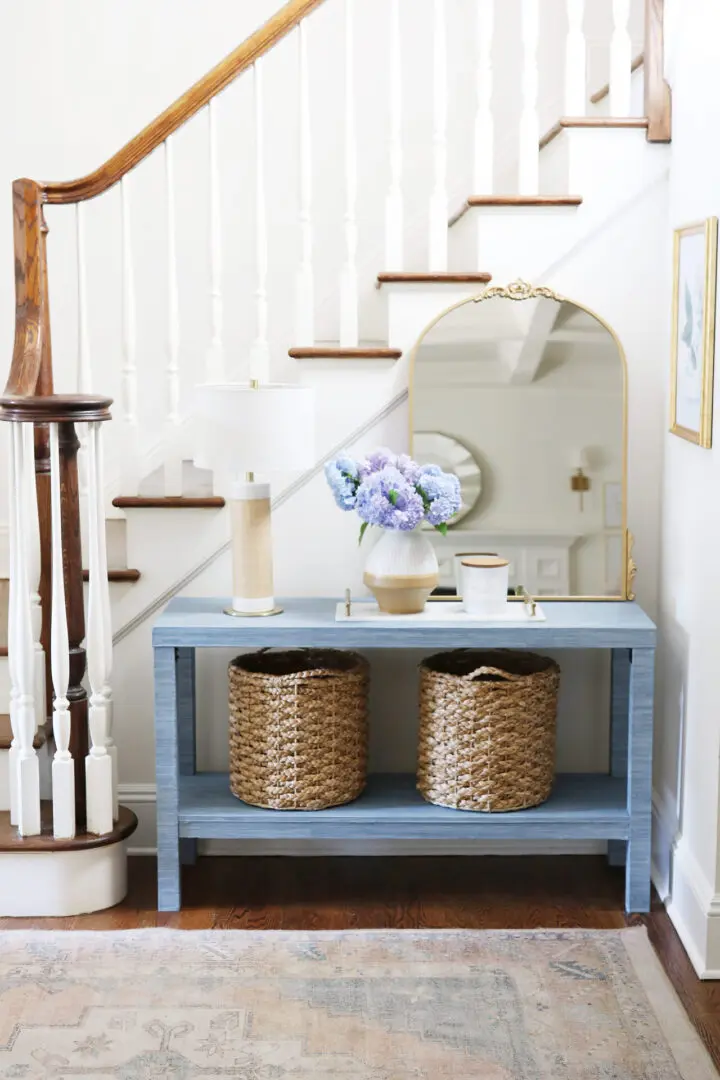
Stylish and Modern Easy DIY Grasscloth Console Table Under $200
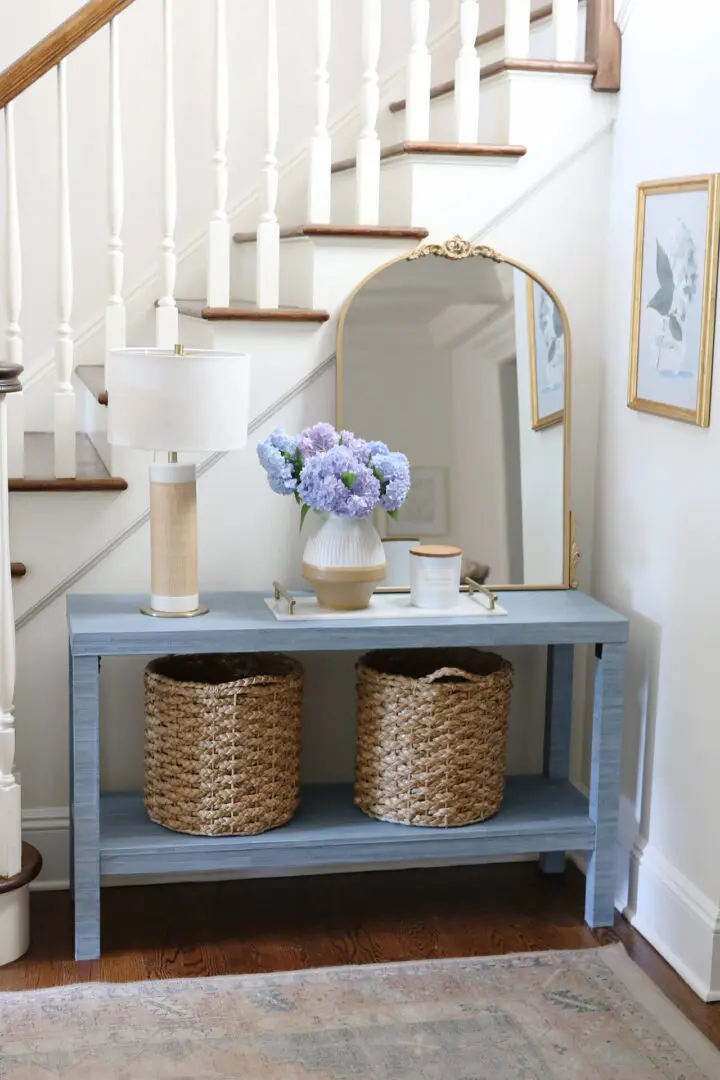
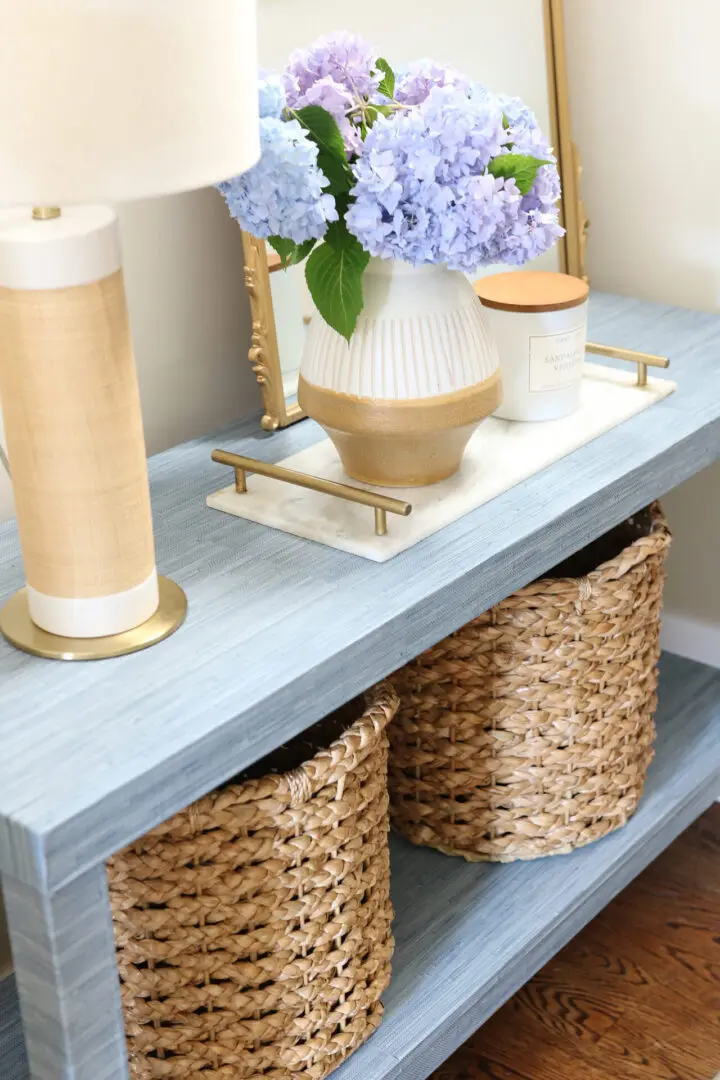
Transforming a console table into a stylish and modern piece is easier than you might think. Grasscloth peel-and-stick wallpaper offers a textured, natural look that’s both elegant and easy to apply. I am been obsessed with this grasscloth console table for some time, but it’s more than I’d like to spend. So a DIY grasscloth console table was definitely needed. I love grasscloth! It’s a beautiful textured wallpaper. We wallpapered our dining room a few years ago, and I still love it. I wanted to bring grasscloth into another area of our home, so I thought a furniture piece would be perfect. In this DIY guide, I’ll show you how to cover your console table with grasscloth peel-and-stick wallpaper, giving it a fresh and sophisticated makeover.
SHOP the POST:
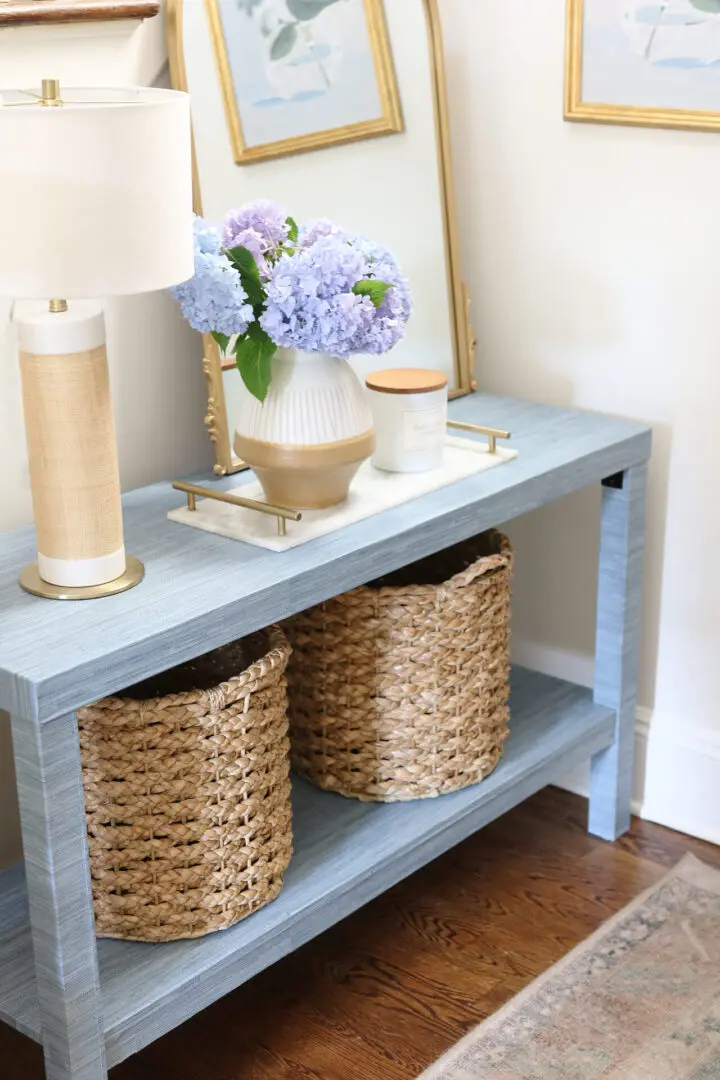
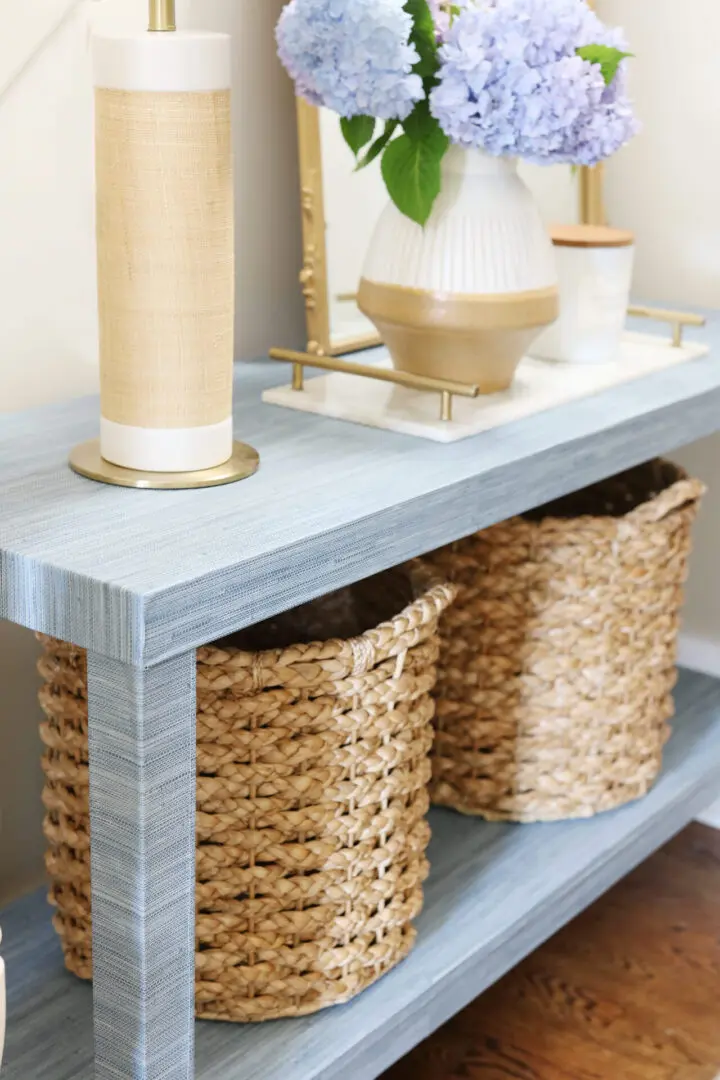
The grasscloth peel-and-stick wallpaper that I used has the best color choices. They have natural, sky blue, royal blue, sage green and some many others colors. I will say that it is not true grasscloth. It has a “realistic” feel and look, but it is not the real deal, so keep that in mind. Because real grasscloth is a heavy texture materials, it would not work as a peel and stick.
To see me DIY grasscloth console table, make sure to check out my IG REEL
Materials Needed:
- Grasscloth peel-and-stick wallpaper –need two rolls
- Console table
- Measuring tape
- Scissors
- Exacto Knife
- Smoothing tool (e.g., wallpaper smoother or credit card)
- Cutting mat or protective surface
- Ruler or straight edge
Step 1: Prepare Your Workspace
Set up a clean, well-lit area to work in. Lay down a protective covering or cutting mat to protect your floors or work surface. Make sure to pull out all the pieces of the console table out of the packaging. You will wallpaper each piece before assembling.
Step 2: Measure the Console Table
Measure each section of your console table, including the top, legs, shelf. Write down these measurements, adding a little extra to each dimension to allow for trimming. This will help ensure complete coverage and a neat finish. You can wallpaper your table any way, but I ended up applying the wallpaper vertically to each wood piece instead of horizontally.
Step 3: Cut the Wallpaper
Unroll the grasscloth peel-and-stick wallpaper and use your measurements to cut pieces for each section of the table. It’s best to cut pieces slightly larger than needed, as you can trim the excess after application. Use a ruler or straight edge to help cut straight lines. For the console table above, I used two rolls of wallpaper
Step 4: Test Fit the Wallpaper
Before removing the backing, make marks on the console table pieces of where to place the wallpaper. This step helps you keep the wallpaper align and verify the measurements and make any necessary adjustments before sticking the wallpaper down.
Step 5: Apply the Wallpaper
Start with the largest surface, typically the tabletop. Peel off a small section of the backing from the top edge of the wallpaper and align it with the edge of the table. Press down gently to secure the starting edge. Gradually peel off the backing as you press the wallpaper onto the table, smoothing it out with your hands or a smoothing tool to prevent bubbles and wrinkles.
Step 6: Smooth and Secure
Use a smoothing tool or a soft cloth to firmly press the wallpaper onto the surface, working from the center outward. This will help eliminate any air bubbles and ensure a smooth application. If bubbles do form, gently lift the wallpaper and reapply it, smoothing it down carefully.
Step 7: Trim Excess Wallpaper
Once the wallpaper is applied and smoothed out, use an exact or utility knife to trim the excess material along the edges. A straight edge or ruler can help guide your cuts for a clean, precise finish.
Step 8: Apply Wallpaper to the Sides and Mark Holes
Repeat the process for the sides, legs, or any other parts of the table you want to cover. If your wallpaper has a noticeable pattern or weave, try to align the pattern at the seams for a seamless look. The exacto knife will help give that clean finished look. As you apply the wallpaper, it is similar to wrapping a present. When you are smoothing, take a pencil or pen and mark the holes for the screws, you will be to feel them through the wallpaper.
Step 9: Assemble and Final Touches
After all sections are covered and trimmed, go over the entire table with your smoothing tool to ensure the wallpaper is securely attached and free of bubbles. Wipe the surface with a soft cloth to remove any dust or fingerprints. Then follow the instructions and assemble all of the pieces together until you have a console table.
Step 10: Style Your Newly Transformed Table
Once your table is covered and looking fresh, it’s time to style it! Add decorative items like a vase, books, or a lamp to enhance the table’s new look.
SHOP THE POST:
Final Tips:
- Patience is Key: Take your time when applying the wallpaper, especially if it’s your first time using peel-and-stick materials. Rushing can lead to bubbles and misalignments.
- Keep It Clean: Regularly dust and clean your newly covered table with a soft cloth to maintain its appearance.
- Experiment with Placement: Before applying, experiment with different layouts and patterns to find the best fit for your table and style.
Covering a console table with grasscloth peel-and-stick wallpaper is a simple and effective way to breathe new life into your furniture. This project not only enhances the aesthetic of your space but also gives you the satisfaction of a DIY transformation. Enjoy your beautifully updated console table!
