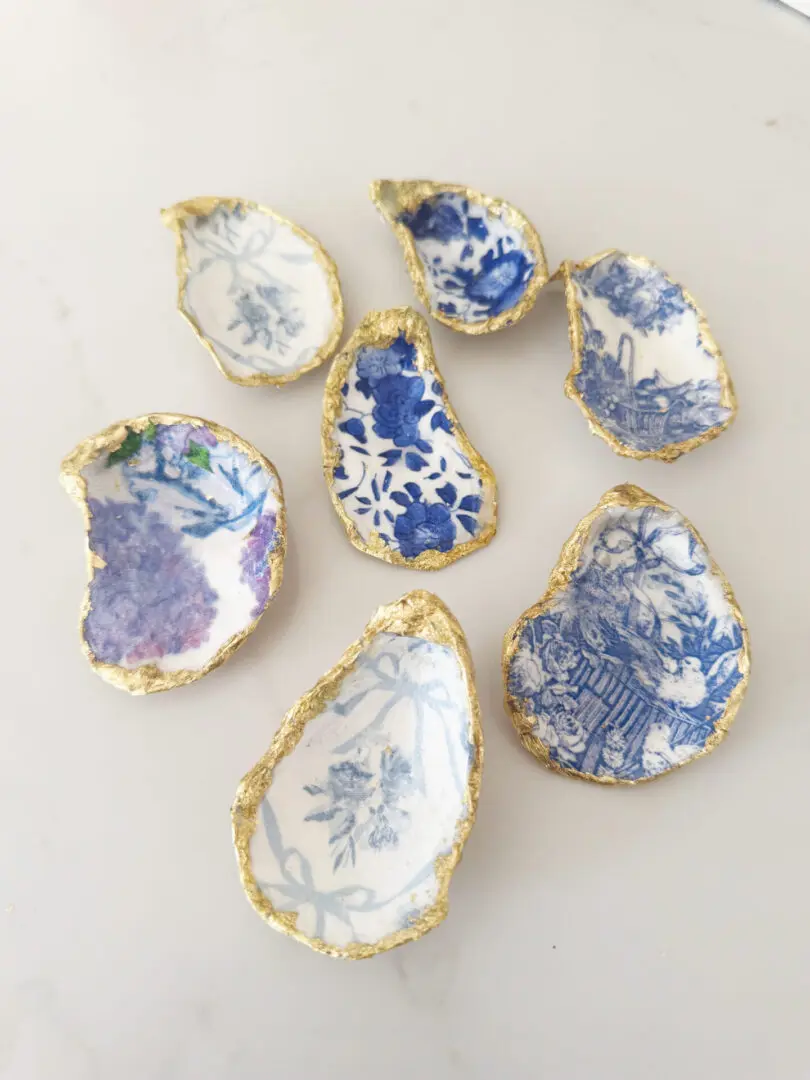
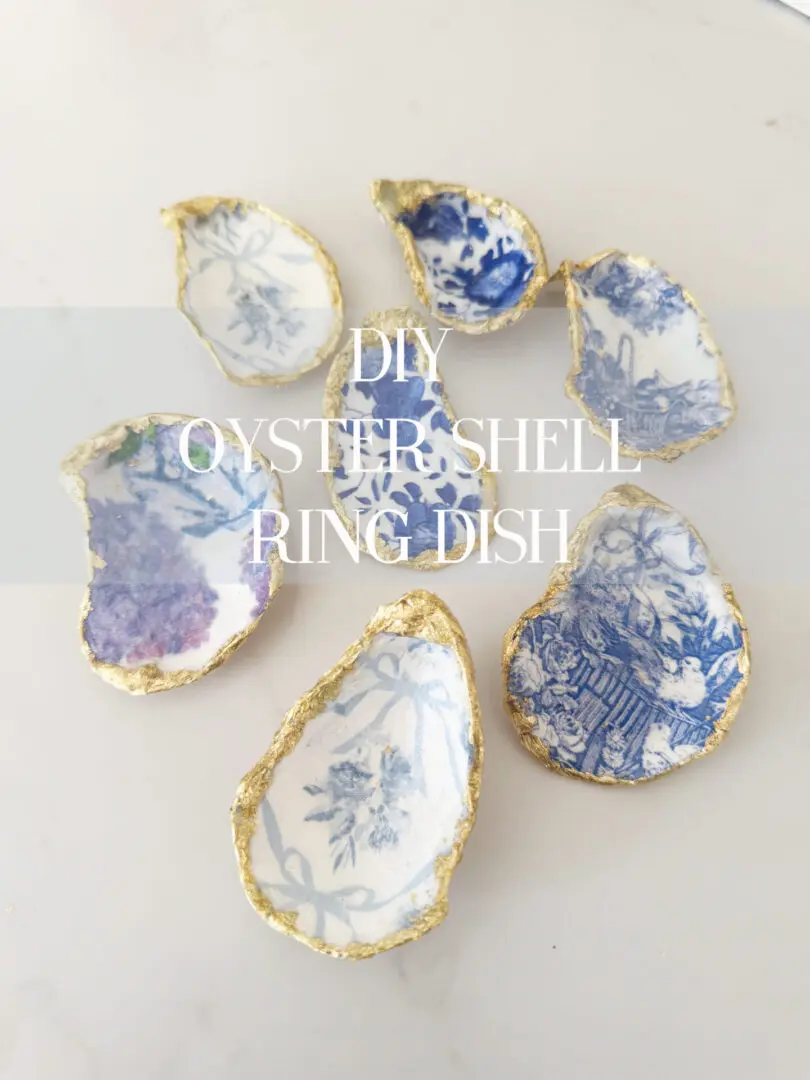
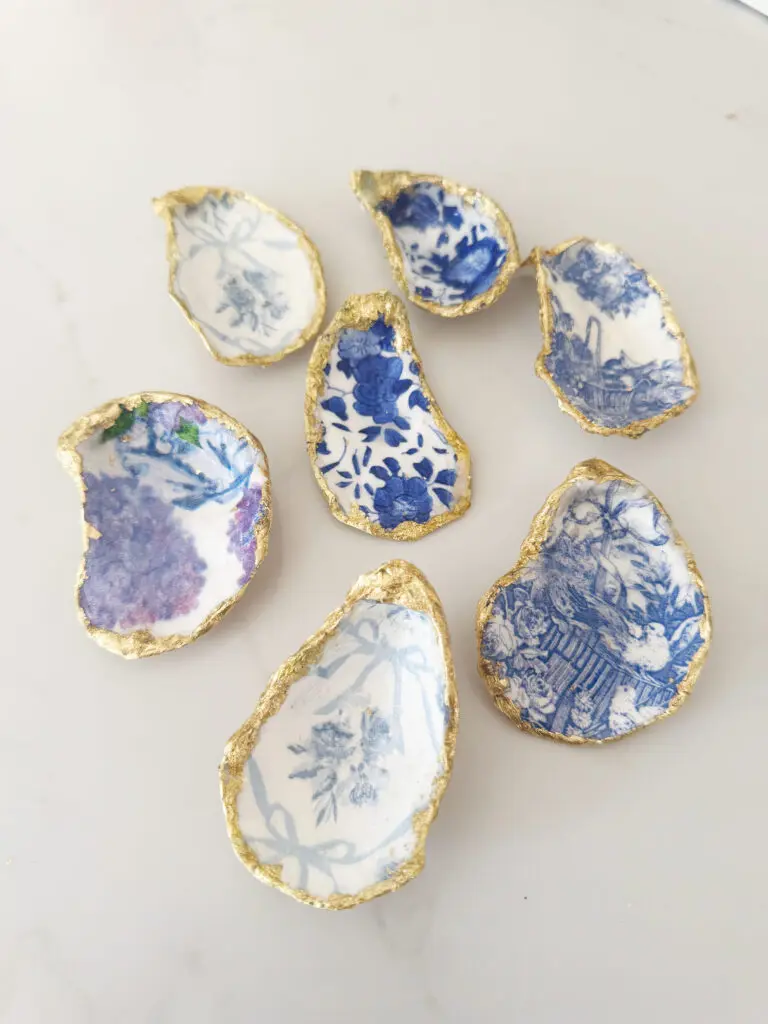
This DIY oyster shell ring dish is the perfect handmade gift for Easter or Mother’s Day
I have been meaning to share this easy DIY oyster shell ring dish project! I made a whole bunch of these oyster shell ring dishes for Christmas gifts and gave them to a few of my girlfriends. This is such a sweet thoughtful gift that most women need, but don’t have. A ring dish to hold their precious everyday rings! I ended up making a couple for me so I have one that I keep in my kitchen, for when I am doing the dishes or cleaning. And I have another one in my bathroom for when I am washing my face. It’s an easy place to drop my wedding rings. Last time I was in Charleston, there were oyster shells everywhere. I mean they were all over the beaches but also oysters are found in many of the food dishes at the restaurants. And then there were oyster decorations all over the town of Charleston. I received a lot of inspiration! So, when we hit up the oyster bar, I asked our waiter if he would give me a handful of oyster shells. So easy! And yes I cleaned them before crafting. This DIY project is very similar to my paper napkin easter egg project. So many sure you check that out since Easter is coming up! The DIY oyster shell ring dish would be a great present for Easter or Mother’s Day.
Before jumping to the crafting details, check out these other relatable posts:
DIY Oyster Shell Ring Dish
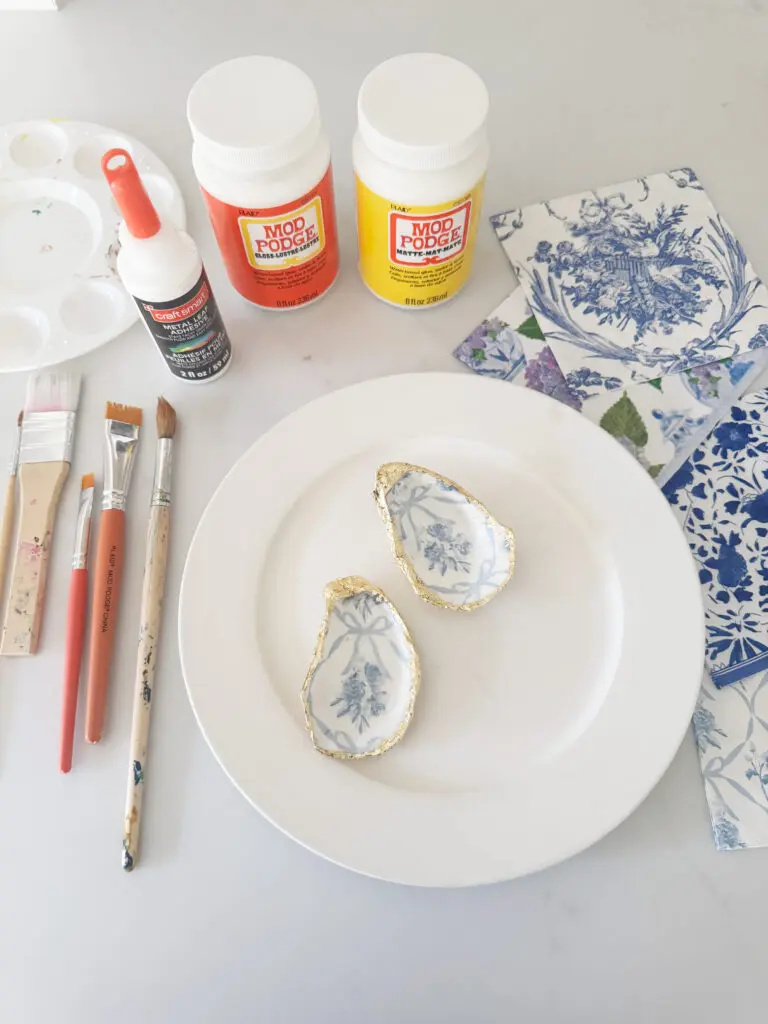
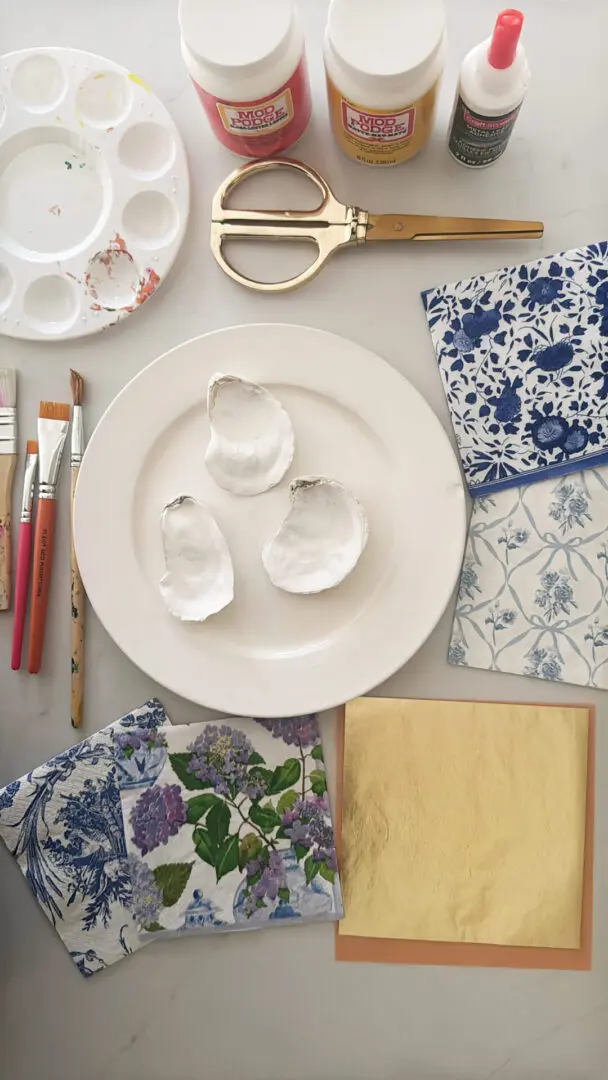
Supplies:
- Oyster Shells or any open-face shell
- Any kind of decorative paper napkins
- White Paint
- Mod Podge–matte and gloss
- Metal Leaf Adhesive
- Gold Leaf Paper
- Scissors
- Paint brush
Instructions
- First thing is to clean and dry your oyster shells. Then take white acrylic paint and paint the inside/smooth part of the oyster shell. Let it dry.
- Then take the Mod Podge Matte glue and with a paintbrush, paint it over the the white paint. Let it dry to tack.
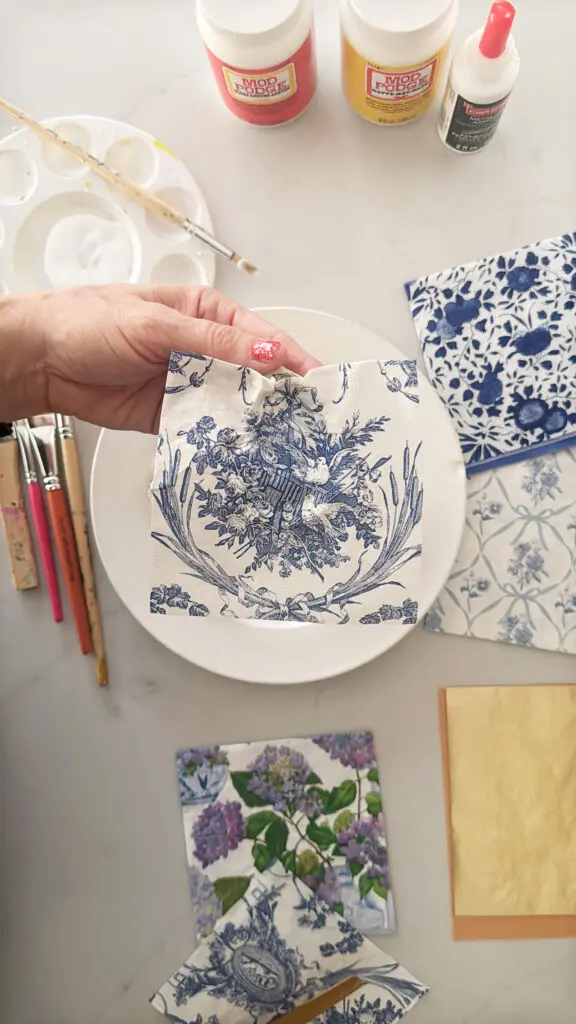
- Open up your paper napkin. There are usually two layers to make the napkin thick. Peel away the back layer of the napkin. It’s usually a white backing.
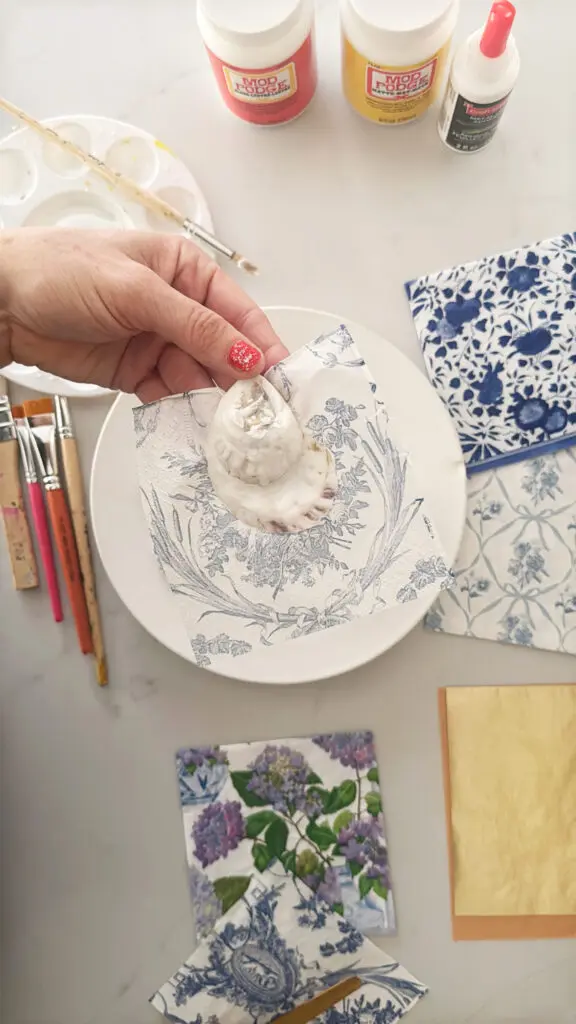
- Figure out what decorated part you want on the inside of the oyster shell and press down so it sticks to the glue.
- Then flip the shell over and take your scissors and cut the excess napkin around the shell.
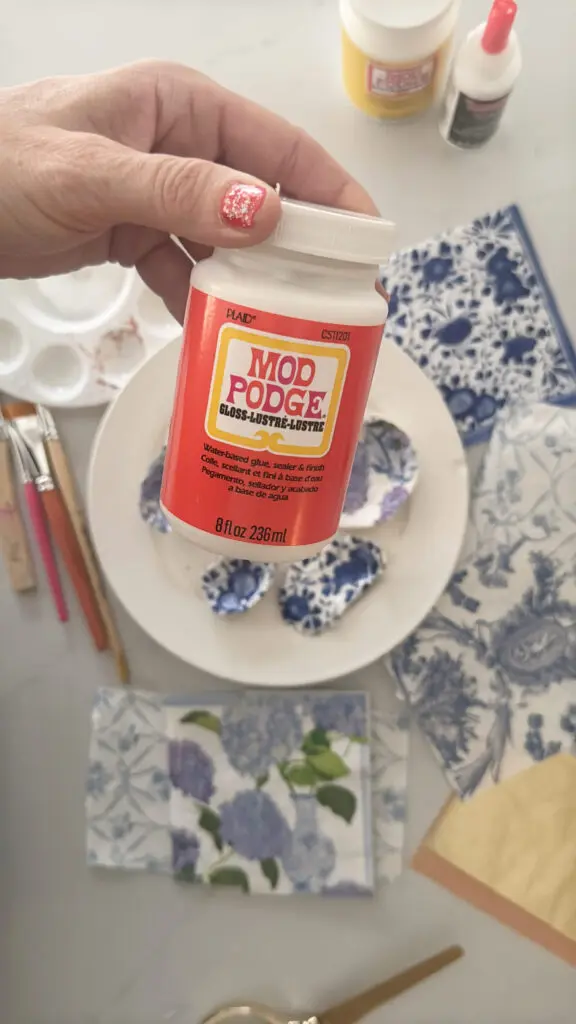
- Next take the Mod Podge Gloss glue and paint it over the decorative napkin that has been glued to the inside of the oyster shell. The glue will dry clear and it will leave a nice clear gloss finish over the paper napkin that will protect it. Mod Podge will seal the paper.
- Let the oyster shell dry for several hours or overnight is best!
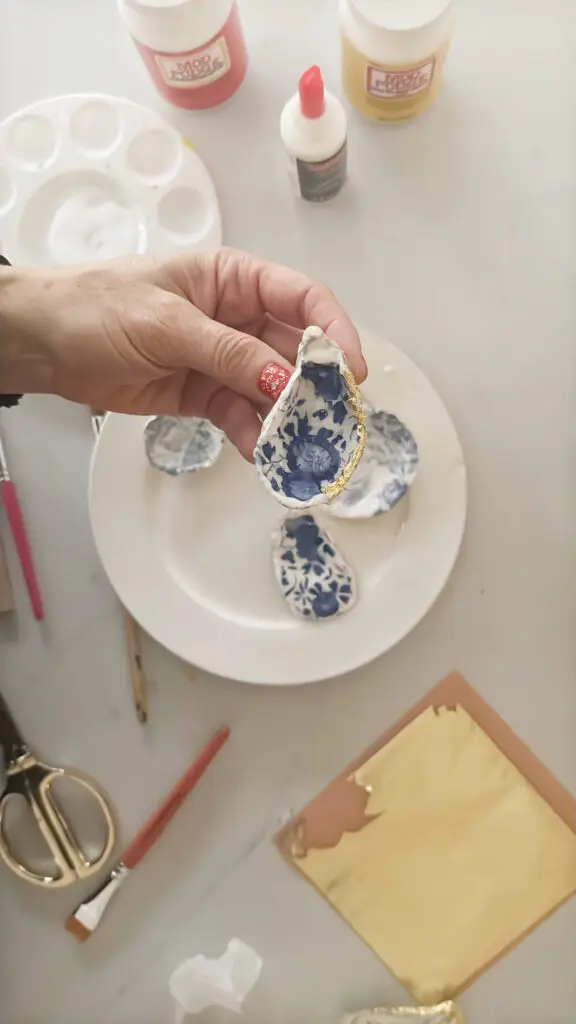
- Then take the metal adhesive glue and using a thin paint brush, brush the glue over the edge of the oyster shell. Let it dry to tack, but not completely!
- Once the glue is dried to tack, take the gold leaf paper and press it up against the oyster shell. The gold leaf will peel off the paper. Then take a clean paint brush and lightly rub it and press down the gold leaf so it sticks to the oyster shell. Complete until the entire gold leaf has covered the end.
- After the glue from the gold leaf dries, take the varnish and seal the gold leaf with a light layer of the gloss glue. Let it completely dry before using.