Darling Darleen | A Lifestyle Design Blog
All things Entertaining, Fashion and Home Decor since 2012
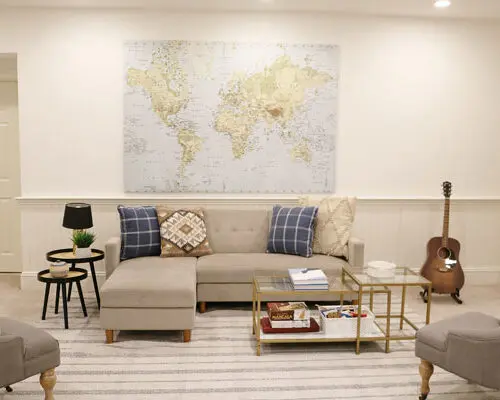
September 19, 2024
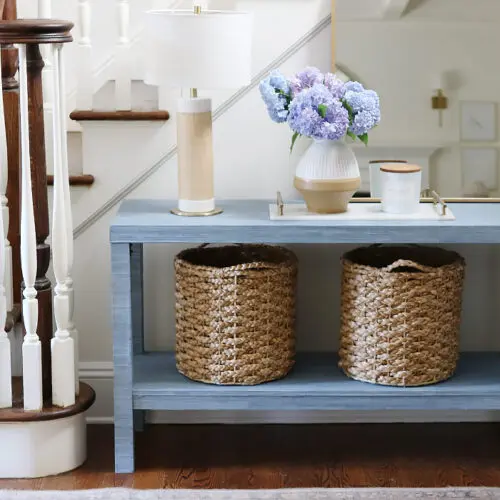
September 1, 2024
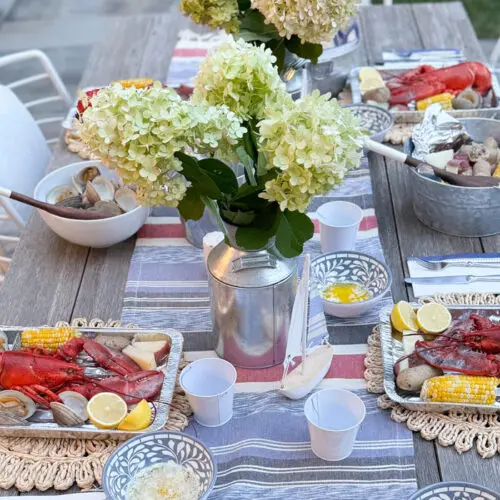
July 26, 2024
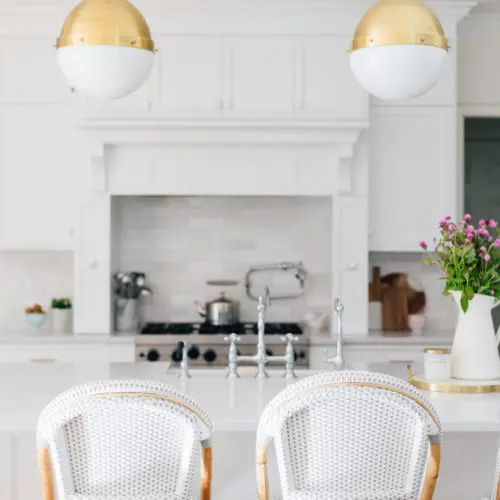
January 31, 2024
January 24, 2024
January 12, 2024
Copyright © 2025 Darling Darleen | A Lifestyle Design Blog · Theme by 17th Avenue