How to Create a DIY Pottery Barn Finish Furniture Look and Transform an Old Desk You Already Love
There is something about a coastal-inspired workspace that feels fresh and calming! We have been working on my office for quite some time with built-ins, paint and now wallpaper. But what happens when the piece you love most, like a large functional executive desk, feels too dark and heavy for your space? That was exactly my situation. I have a beautiful oversized desk with the perfect number of drawers, but the black finish was worn and no longer fit my style. I actually bought it from Pottery Barn years and years ago. It’s an old version of the Livingston Desk. I debated replacing it, but the truth is, quality furniture like that is hard to come by, and I do not like to be wasteful. Also, most of the desks I were looking at were from Pottery Barn! So instead, I gave my desk a new life with a DIY pottery barn finish furniture technique, and the result completely transformed the look and feel of my office. My inspiration was the seadrift finish of the Pottery barn furniture pieces.
If you have been thinking about updating a piece you already own, this step-by-step guide will walk you through exactly how to do it. But before we jump into the instructions, check out these other before and after painting projects:
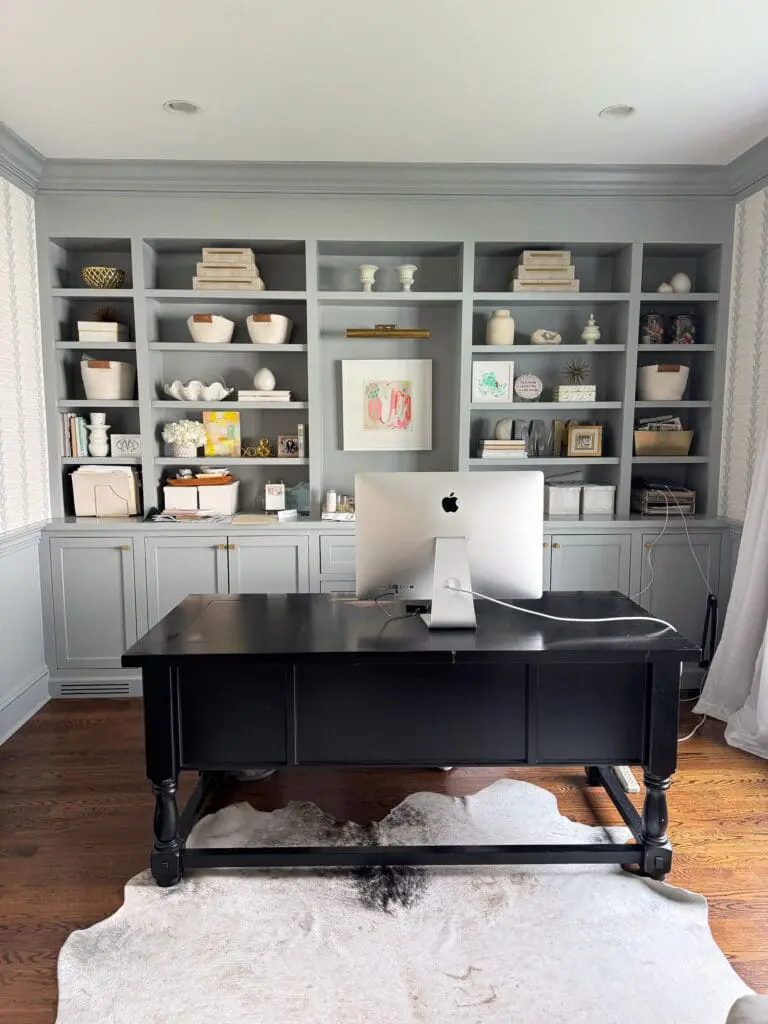
Before Desk and Why DIY Pottery Barn Finish?
As you can see, my desk didn’t look bad but needed some updating. Pottery Barn is known for its soft layered wood tones, think of finishes like their popular Sausalito and Seadrift style. The beauty of DIY pottery barn finish furniture is that you can recreate that same depth, warmth, and character at a fraction of the cost, while customizing it to your own space. Even better, you are repurposing something you already love.

Supplies
Chalk paint (tan or light beige)
Glaze paint
Dark antique wax
Optional clear or light wax for layering
Degreaser
Clean rags
Bristle brush for wax application and chalk brush
Optional tools for glaze texture:
Rough brush
Dry brush
Textured cloth or sponge
For the chalk paint and waxes, I love the brands Amy Howard, Annie Sloan, and Country Chic Paints
Instructions
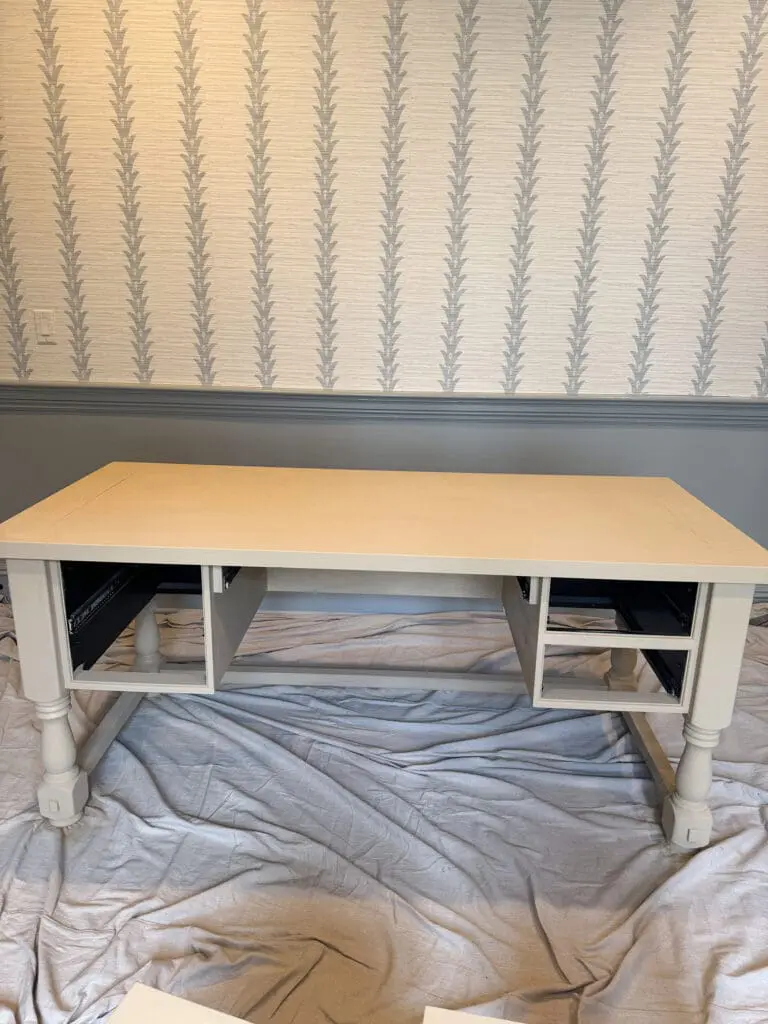
- Clean it–Before doing anything, clean your furniture with a degreaser. This step is essential. Even if the piece looks clean, oils and residue can prevent paint from adhering properly. A clean surface sets the foundation for a smooth long lasting finish.
- Apply Chalk Paint–One of the best parts of using chalk paint is that there is no sanding or priming required. Apply your first coat of a tan or beige chalk paint. Let it dry since chalk paint dries quickly. Apply a second coat for full coverage. This base layer is what gives your piece that soft neutral tone commonly seen in DIY pottery barn finish furniture styles.
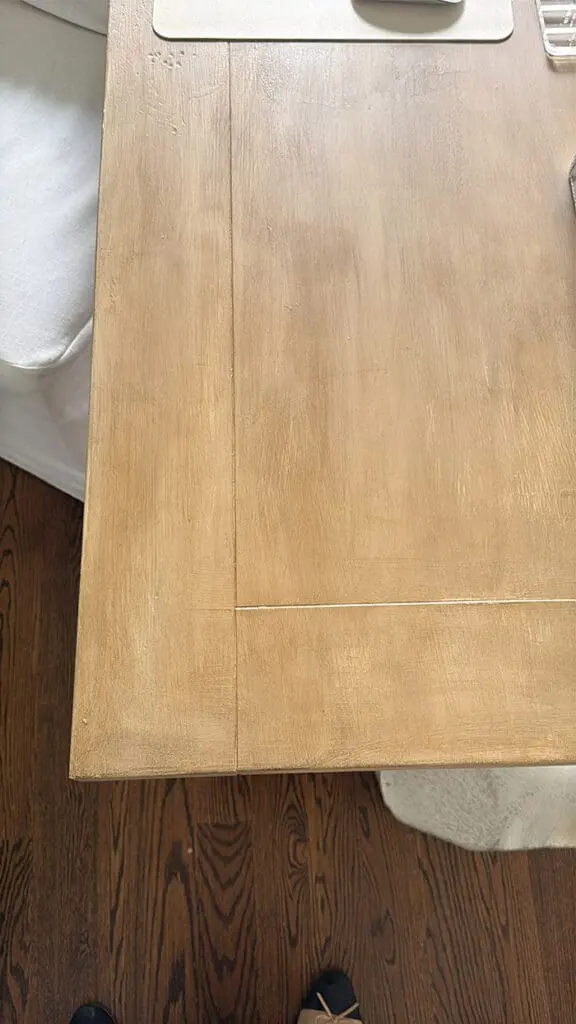
- Add Glaze to Create Tone–Once your paint is dry, it is time to add dimension. Apply one coat of glaze. Immediately begin wiping it off using a clean rag or a rough brush (for wood streak effects) . This step is where the magic starts to happen. The glaze settles into the details and creates that layered slightly weathered look. For added texture you can use a rough brush to create subtle wood grain streaks. Try a dry brush technique for a softer effect. Use a sponge or textured cloth for variation. Play around until you achieve the look you love.
- Apply Light and Dark Antique Wax to Seal–After the glaze dries, seal and enhance the finish with wax. Use a bristle brush to apply the light and dark wax. Start in the corners and detailed areas. Work your way toward the center, keeping the middle lighter. This creates contrast and depth, giving your piece that rich dimensional look. The lighter antique wax will soften the look and create even more variation and the dark antique wax creates depth and dimension.
- Let it Dry and Cure–let it fully dry and to cure it takes a few weeks for the wax to get its shine and full look.
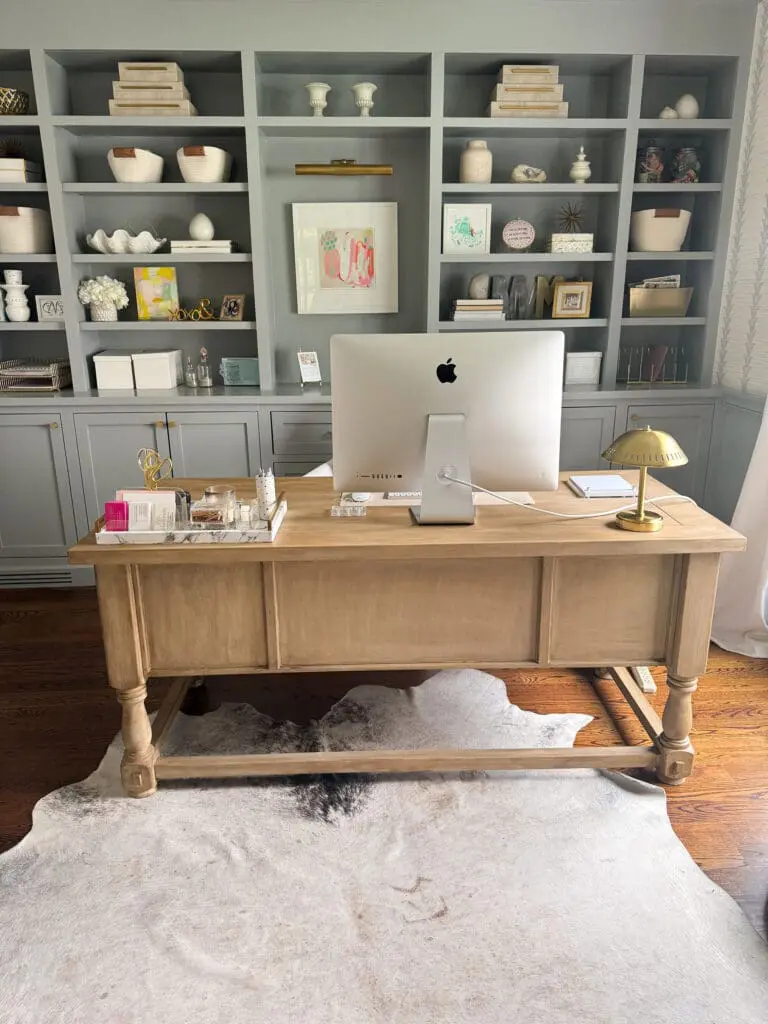
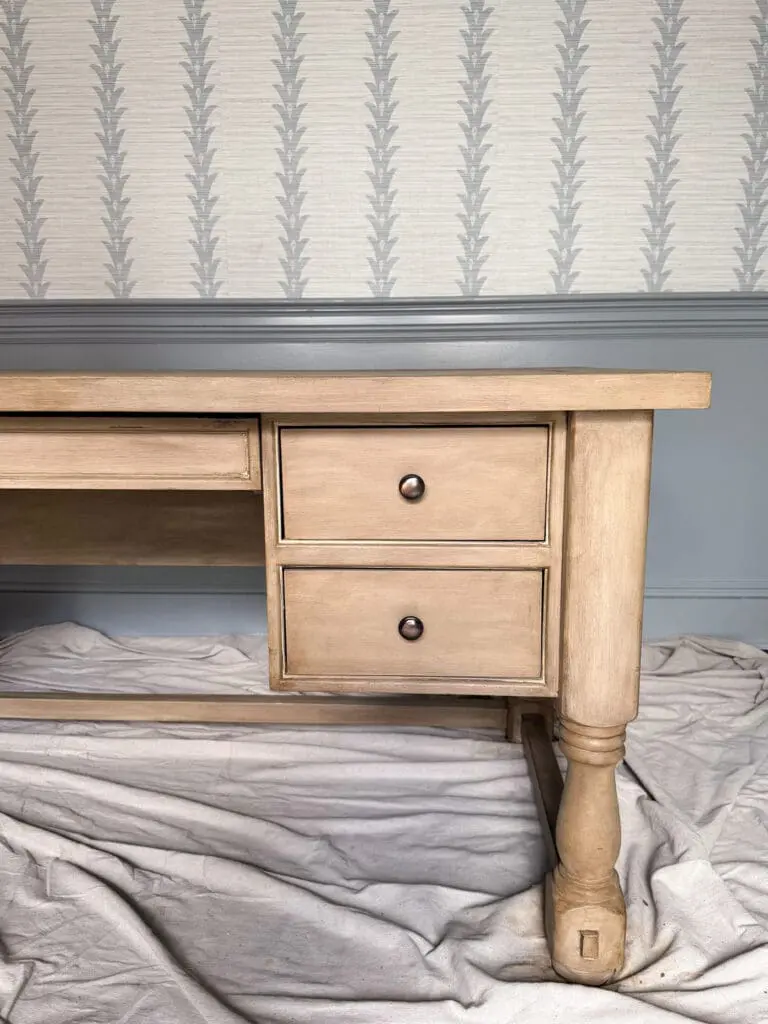
I love the finish of the desk! It came out so good!
See the Instagram Reel Video of the DIY Pottery Barn Finish Furniture
If you are on the fence about replacing a piece of furniture, consider refinishing it instead. Not only is it more sustainable, but it also allows you to create something truly custom to your home.
This project is approachable, forgiving, and surprisingly fun, and the end result is something you will appreciate every single day.
And the best part is you will look at that piece and think, I did that.
Enjoy it for years to come!
Shop the Post:
